Platform
Solutions
Industries
Compare
Resources
Posted by on October 13, 2025 — Updated on October 14, 2025
With the Exercise.com Point of Sale (POS), you can manage in-person sales directly inside your platform—add products, packages, plans, and groups; process payments; and track sales activity so staff can ring up purchases quickly and efficiently.
Use the POS for both guest checkouts and client transactions. Apply discounts or coupons, select payment methods, and manage connected terminals or card readers for a smooth checkout experience. For hardware and processing setup details, see Payment Processing.
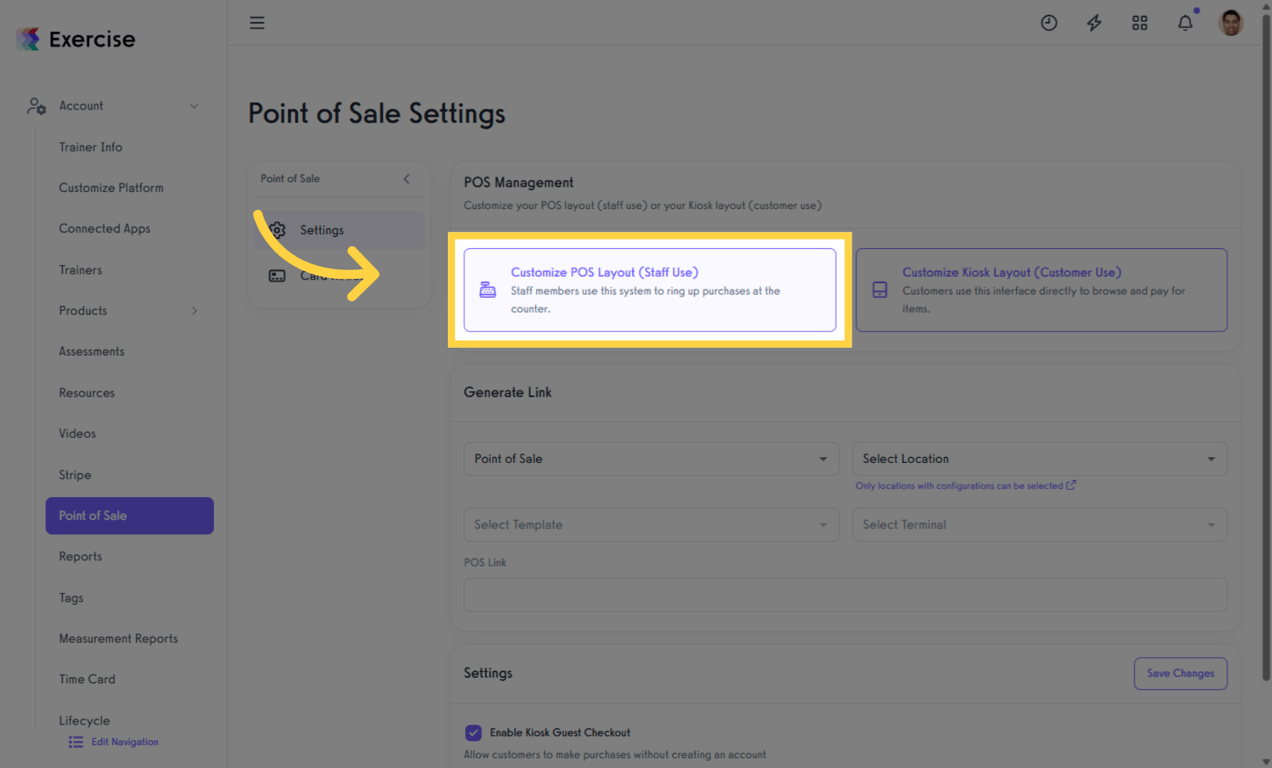
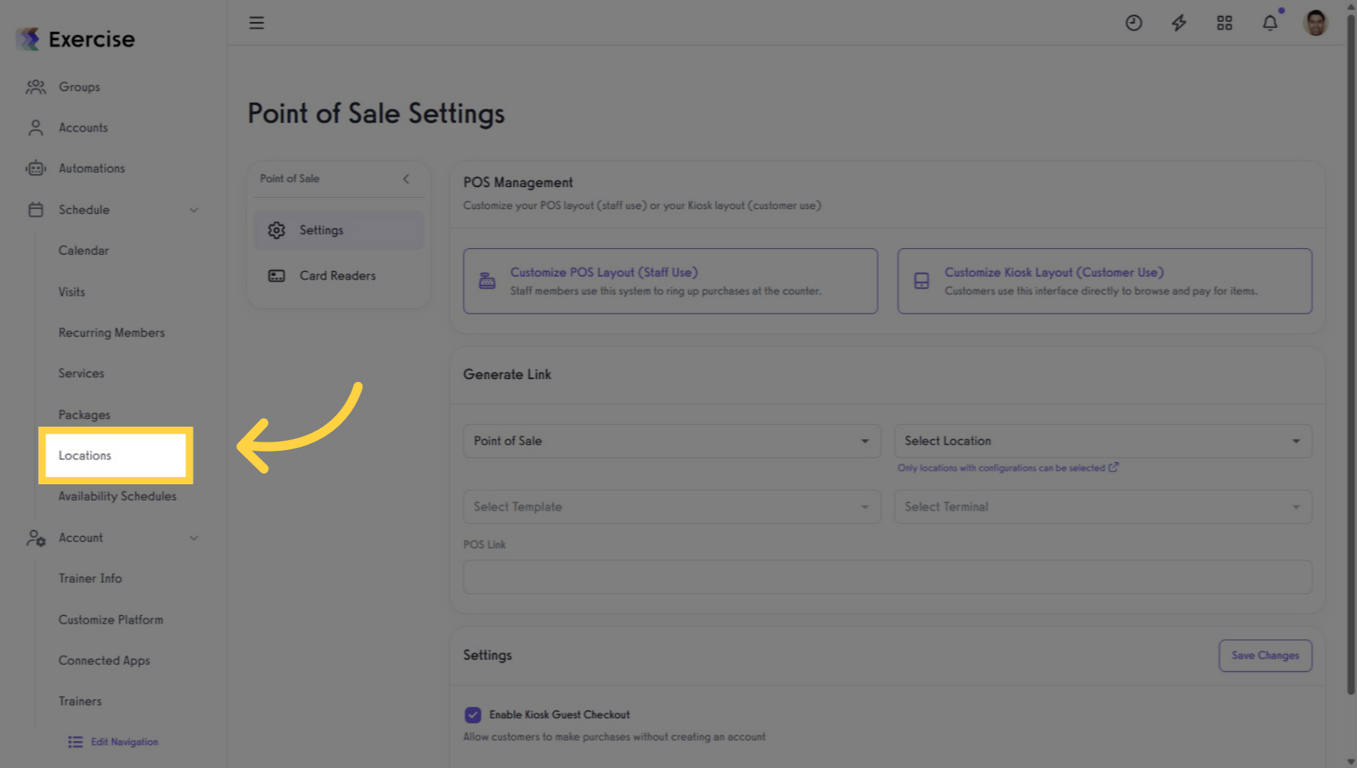
In the Account tab, click Point of Sale to open and manage the main POS interface.
Click Customize POS Layout (Staff Use) to modify the layout staff use at checkout.
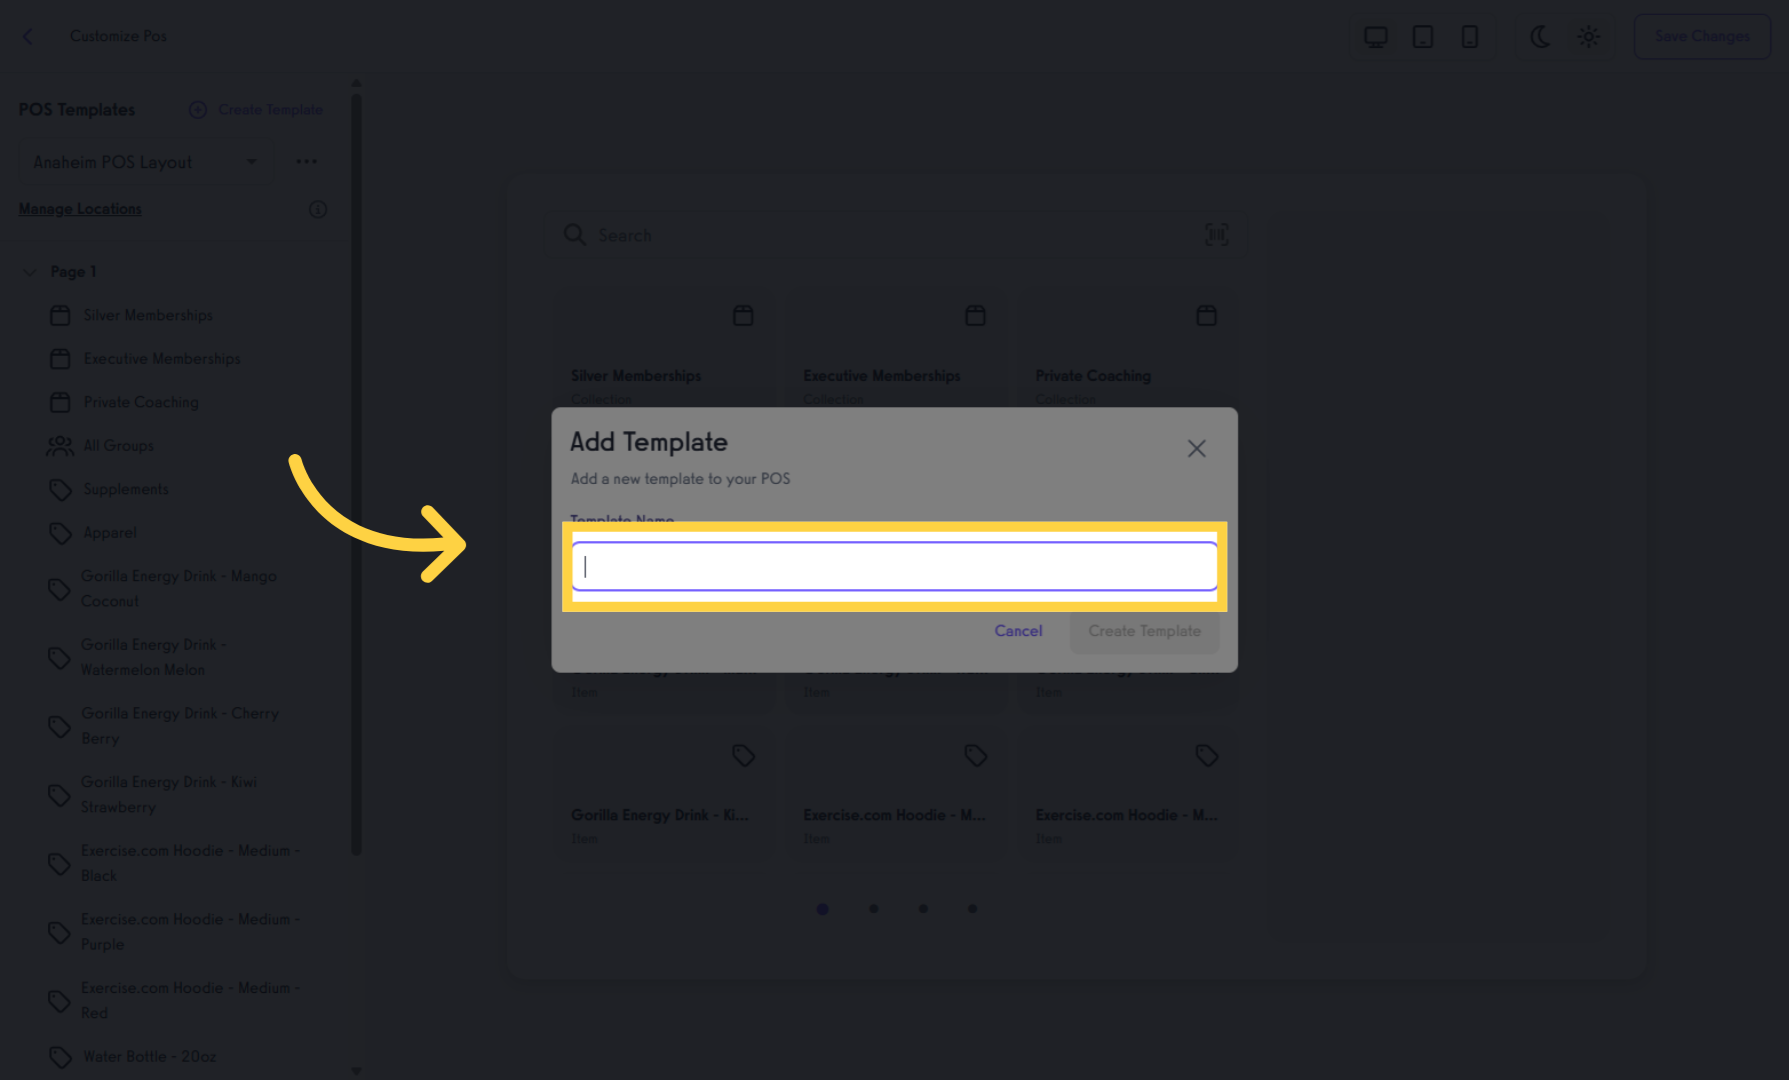
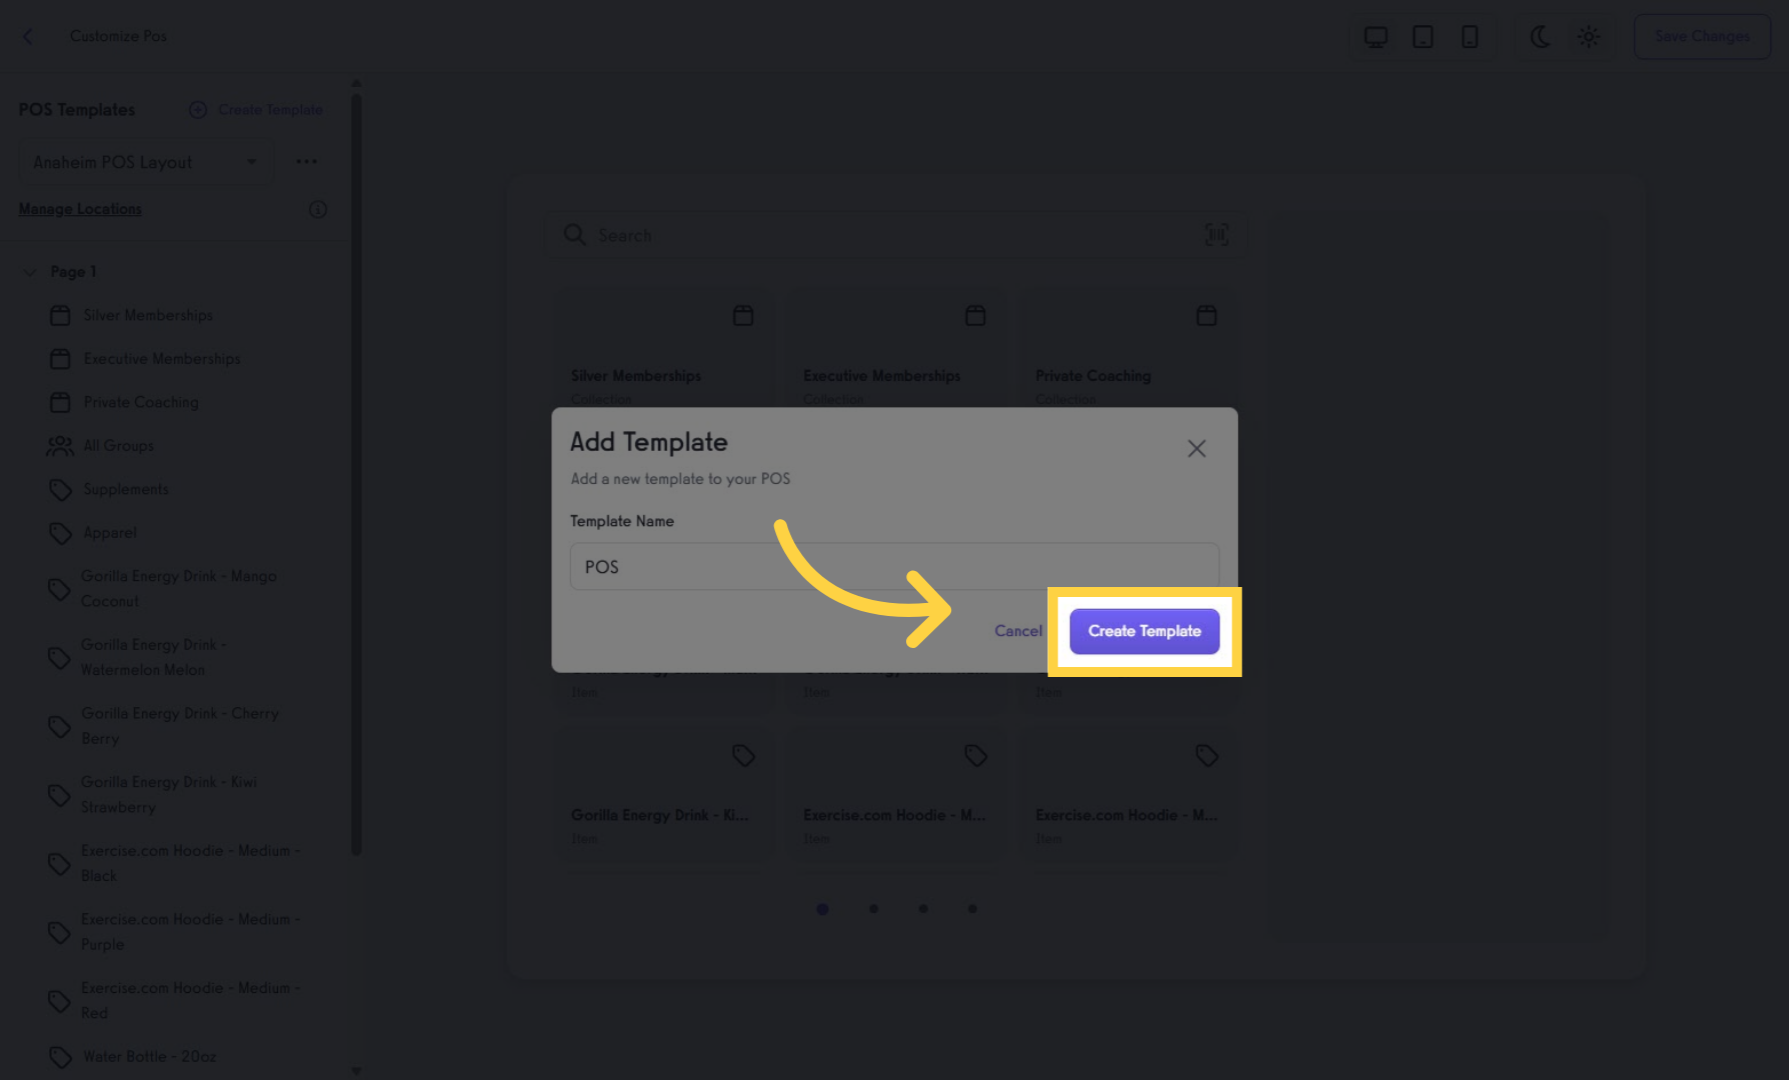
Click Create Template to start a new POS template. Name it in the Template Name field, then click Create Template to save.
Click Switch to New Template to activate and start using the template.
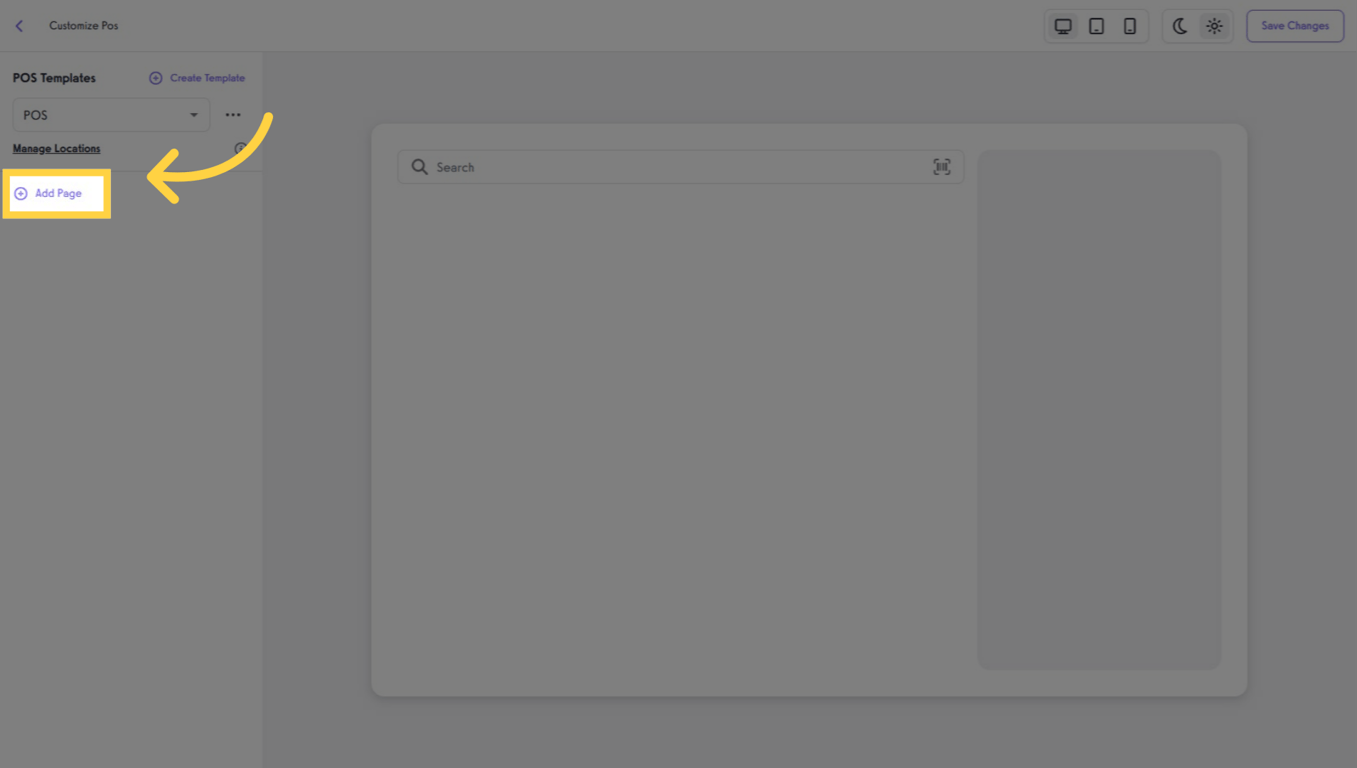
Click Add Page to organize items into pages (e.g., Apparel, Packages, Supplements).
Click Add Item to Page 1 (or your current page) to add products, packages, plans, or groups.
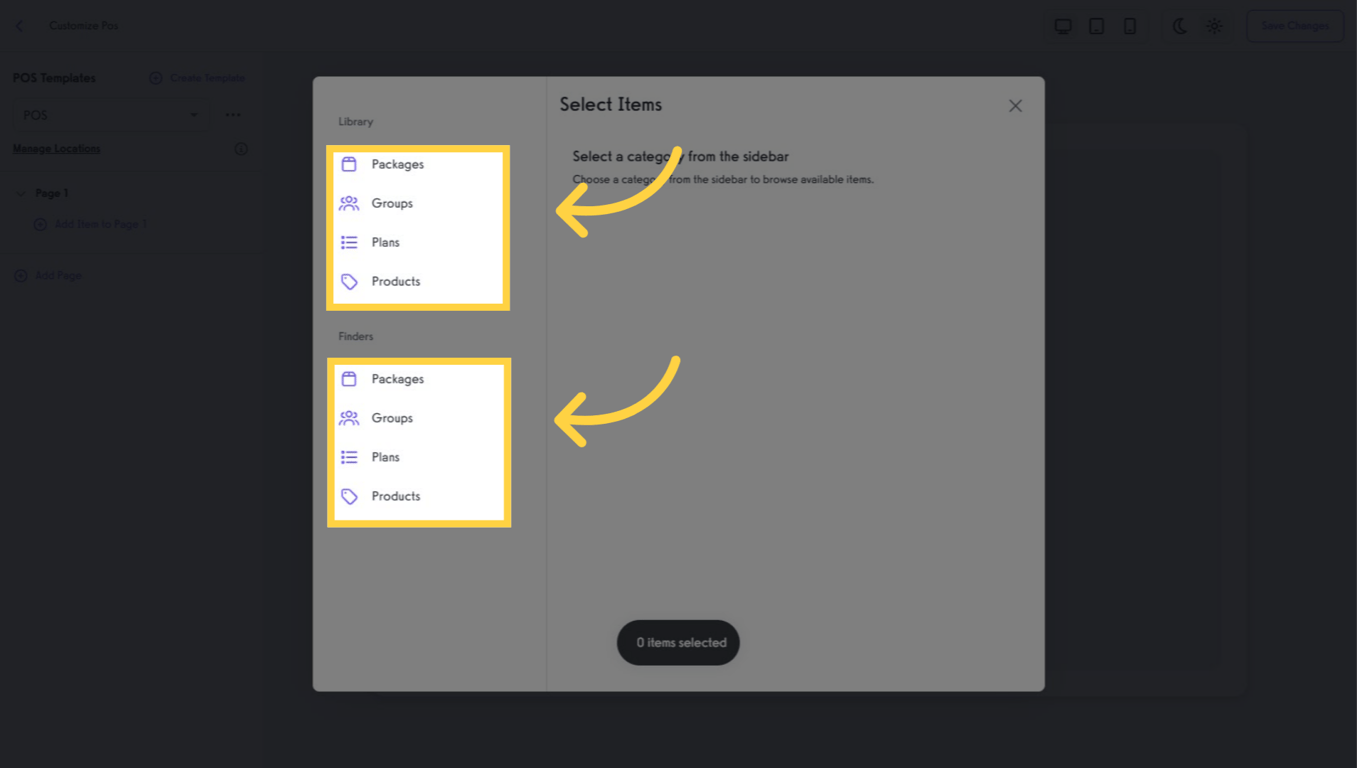
There are two sections: Library and Finders. In Library, add specific items directly. In Finders, staff can browse all available Packages, Groups, Plans, and Products (including categories) and add items to the cart during checkout.
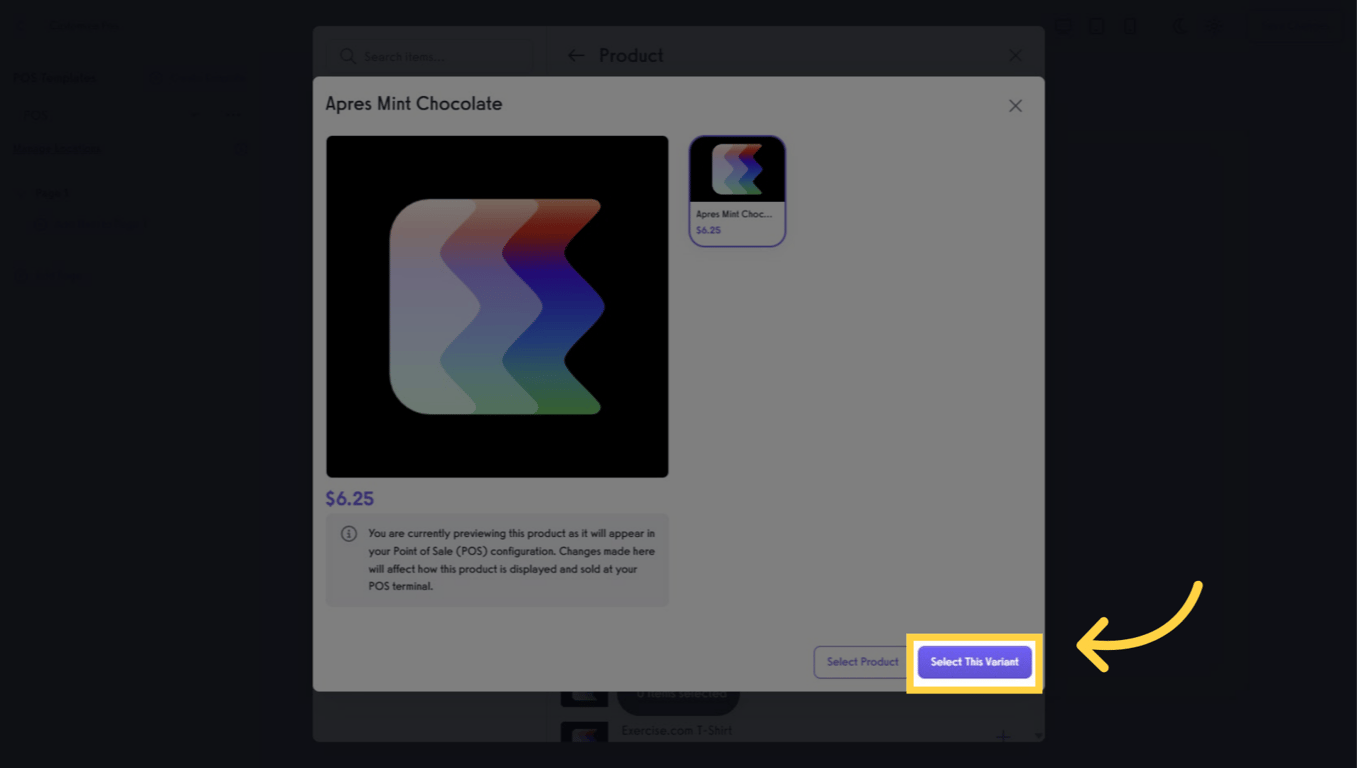
Open Products, select a product, then choose a specific variant (e.g., size/color) and click Select This Variant.
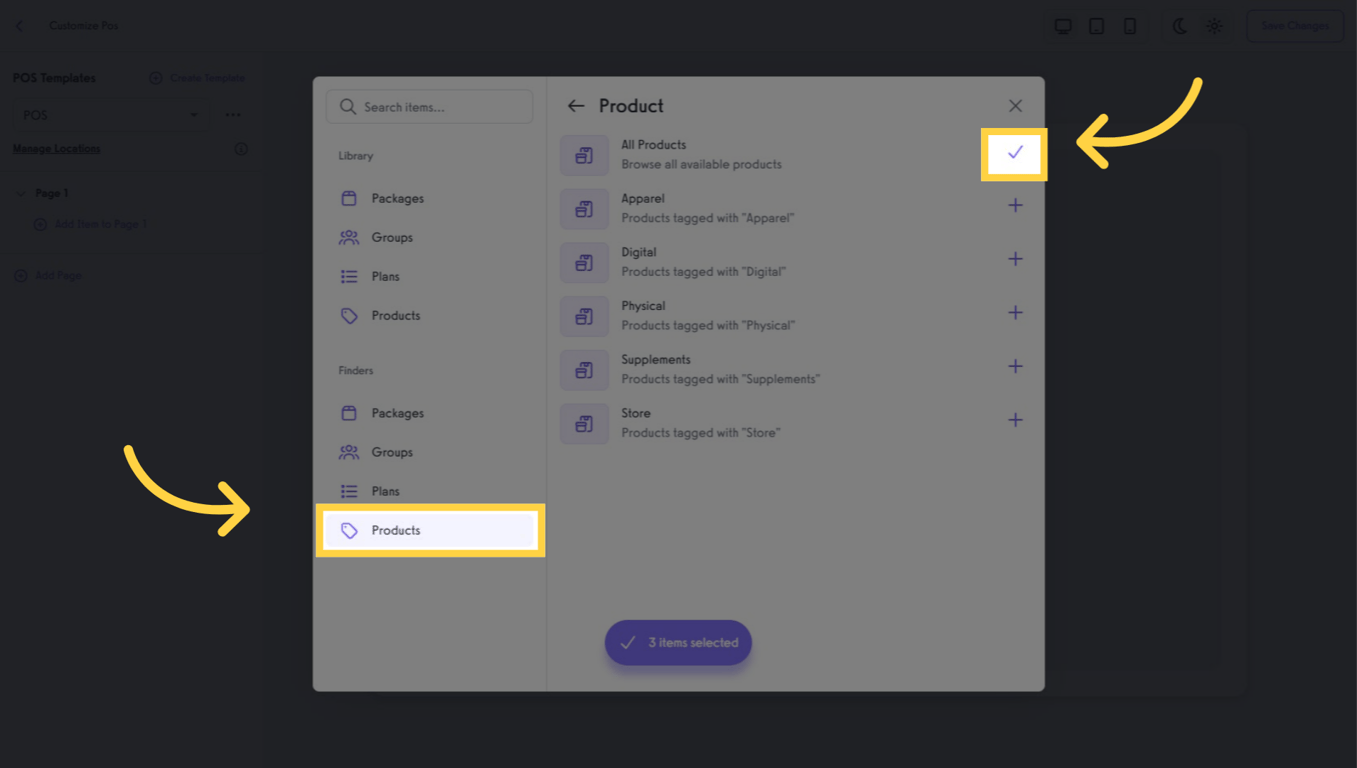
In Finders, choose Products and select All Products. You can also add other available categories.
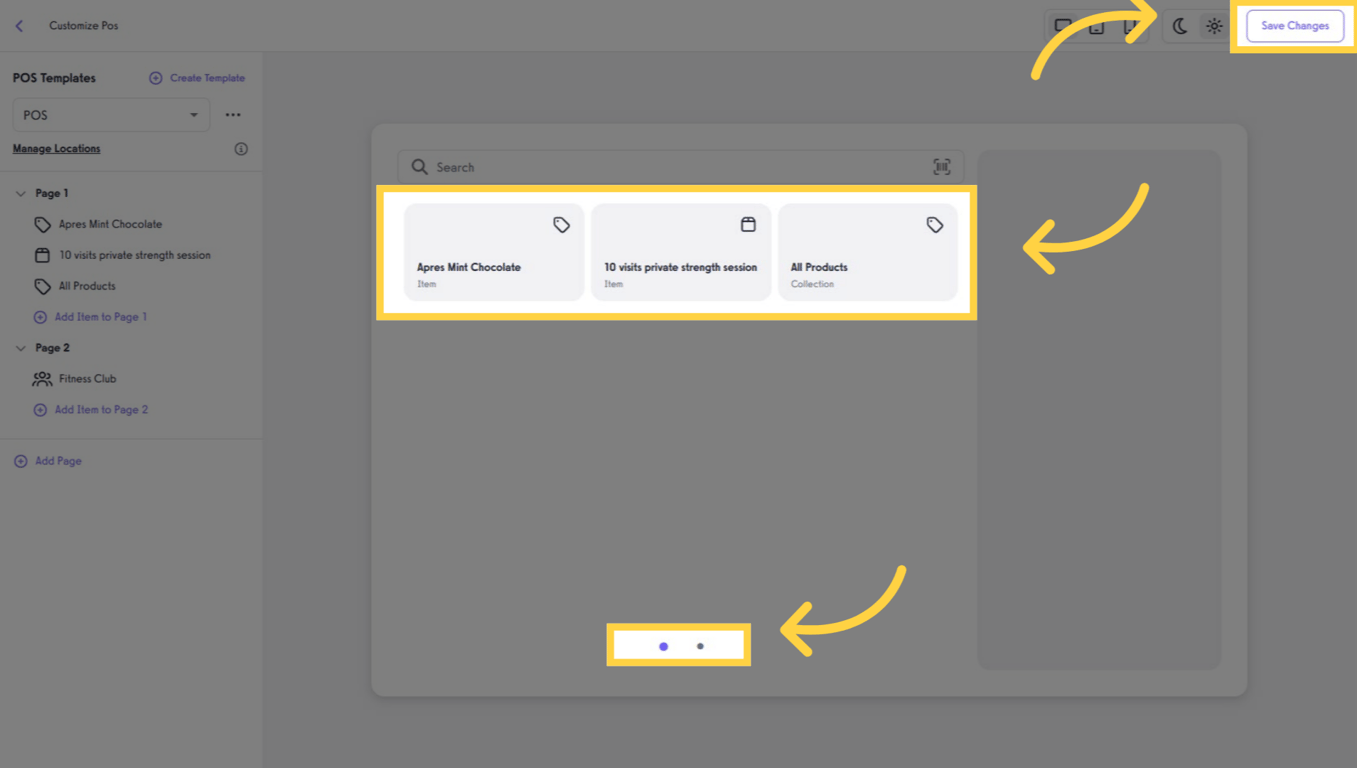
Items appear on the screen. If you created multiple pages, dot pagination indicates extra pages. Click Save Changes when finished.
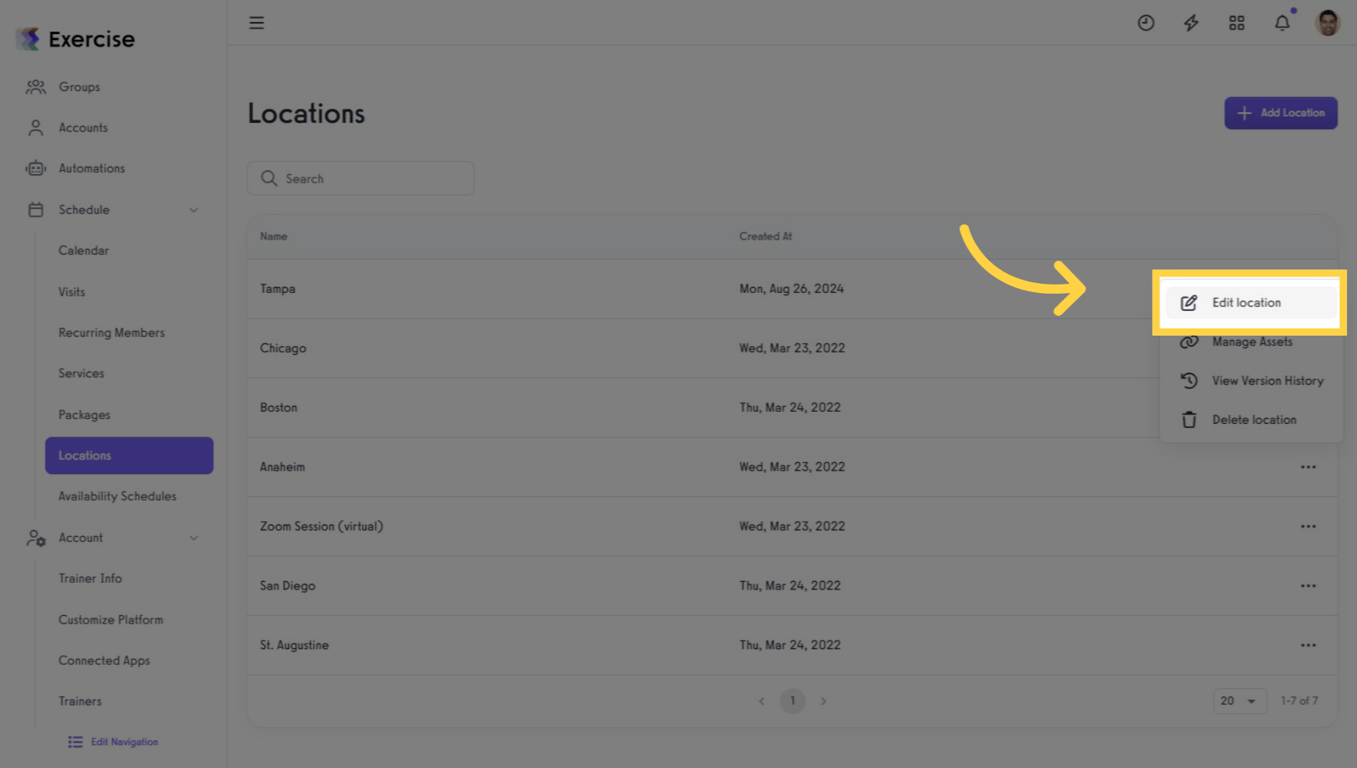
Go to the Schedule tab and select Locations. (If you operate multiple sites, see Member Management for account best practices across locations.)
Add a new location or select an existing one. Click the three dots and choose Edit Location.
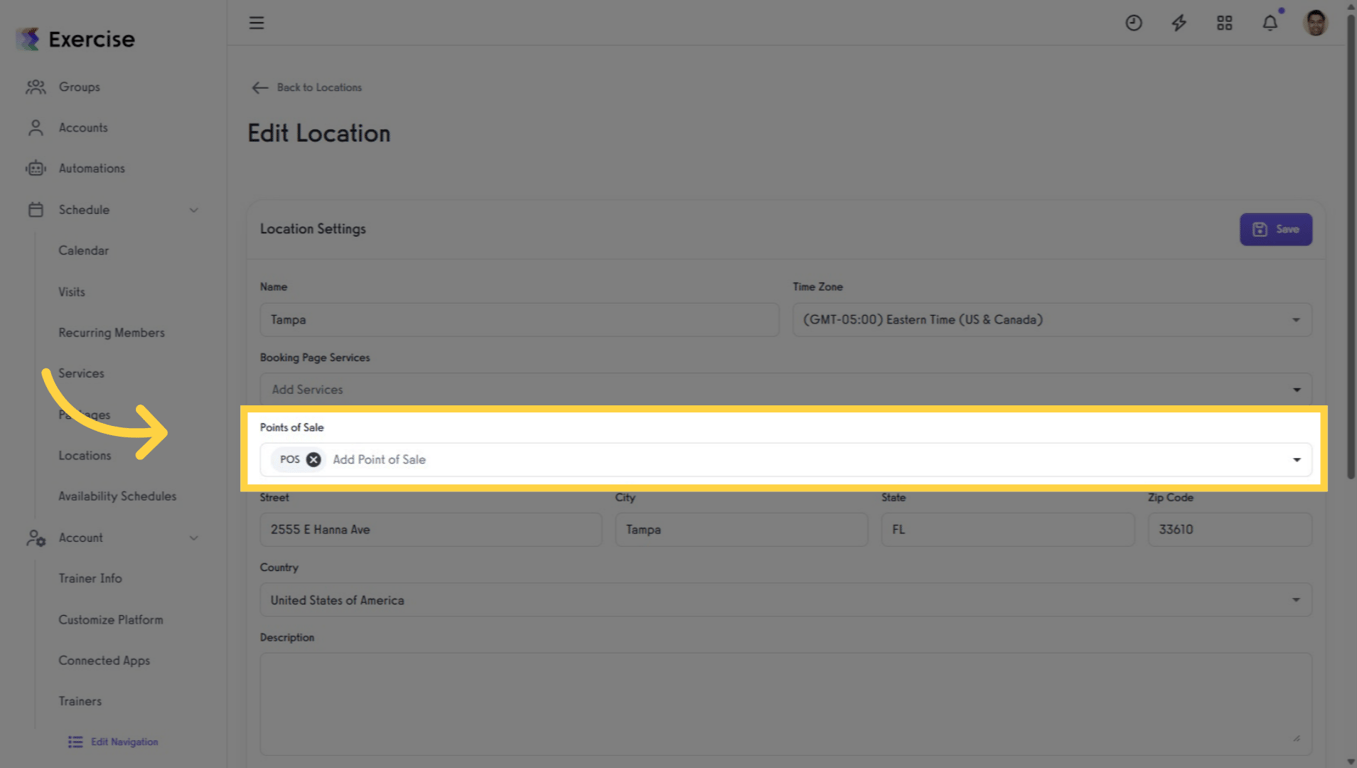
In the Points of Sale multi-select field, choose the POS you want to link. Note: If you don’t see the POS, make sure you saved your POS template.
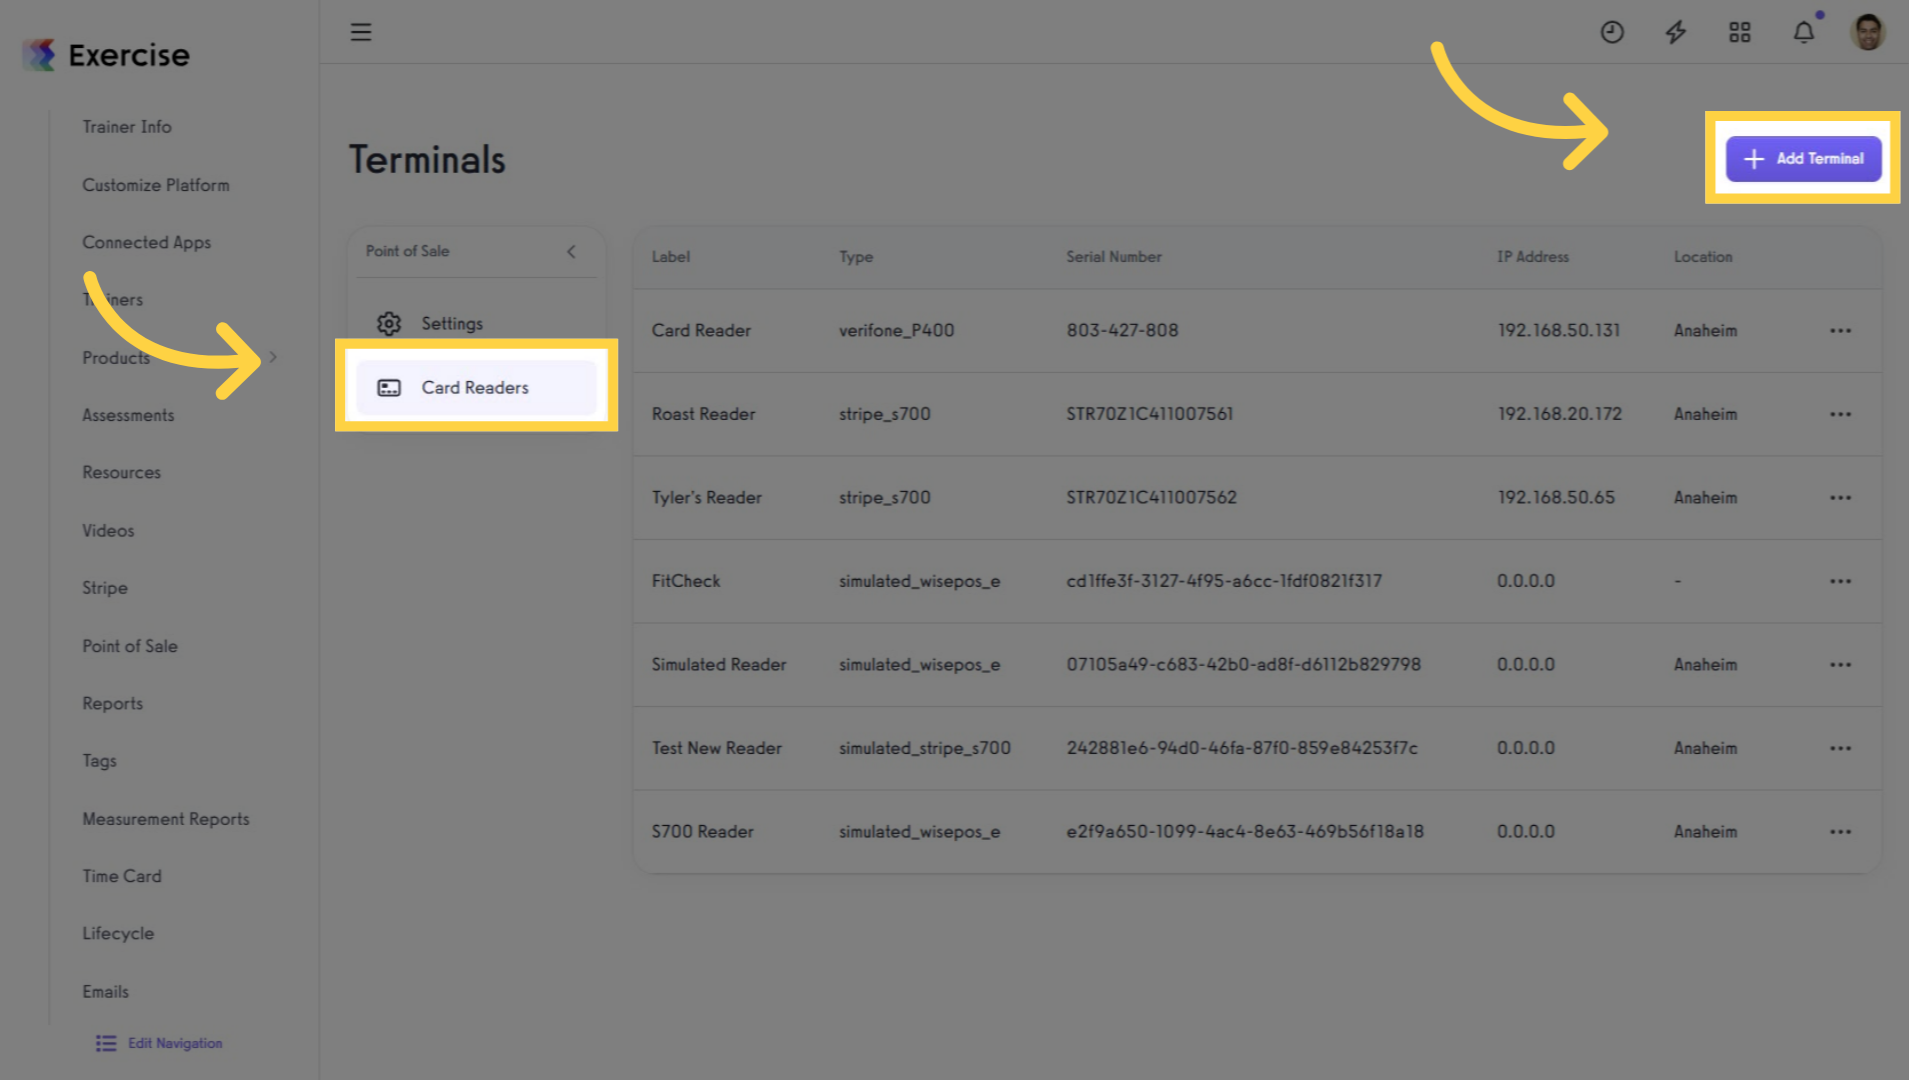
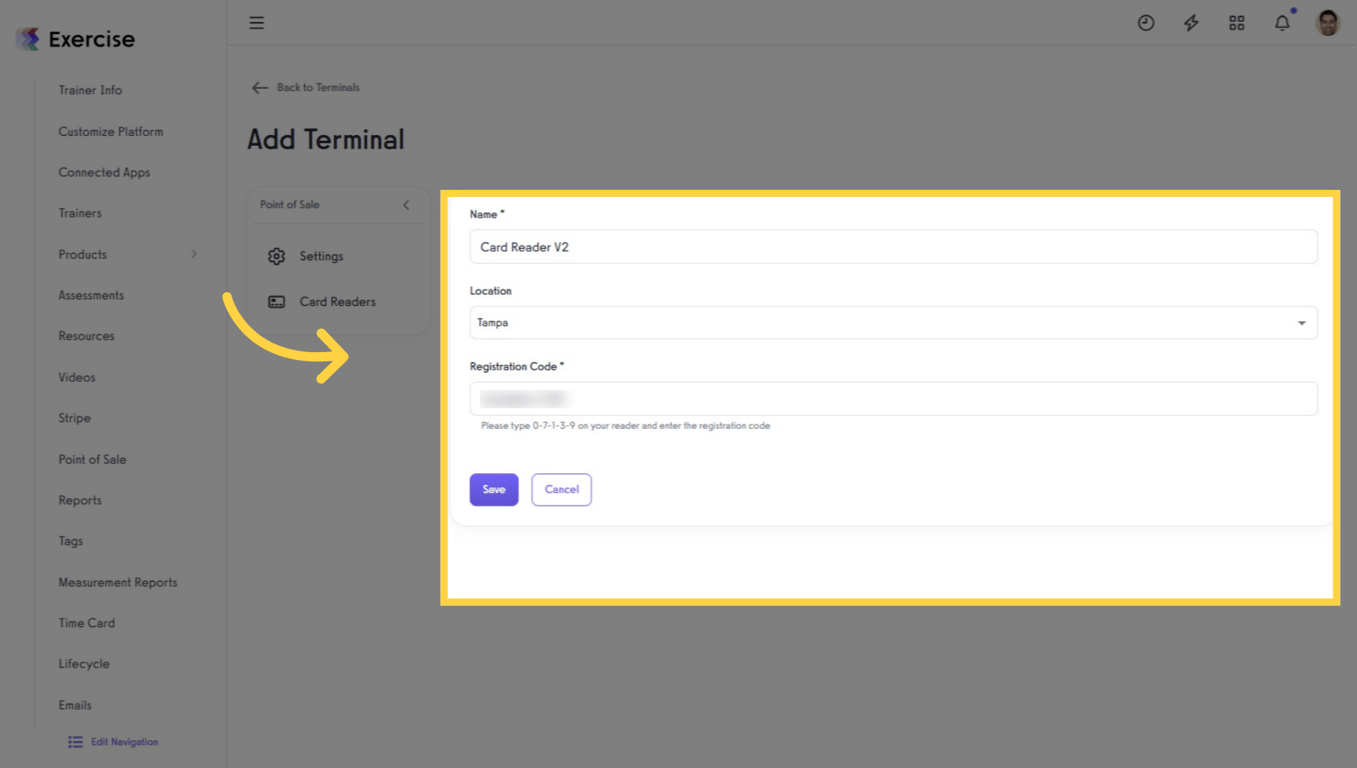
In your Point of Sale Settings, open the Card Readers tab and click Add Terminal to add a terminal and set up your card reader. Note: Terminals require compatible hardware and payments setup.
Enter the terminal name, choose the location from the dropdown, and input the Registration Code.
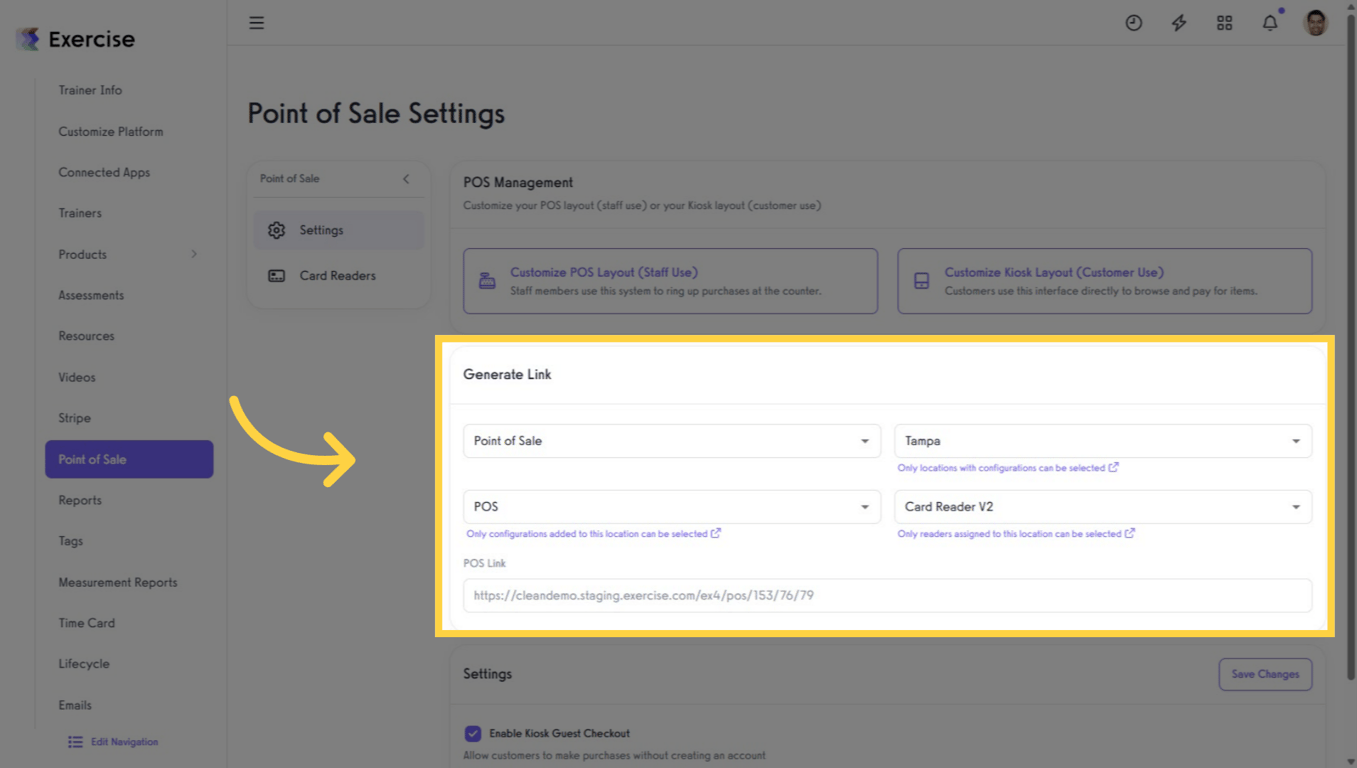
In Point of Sale Settings, select the POS you want to access. Choose Point of Sale under POS Type, then select the Location, Template, and Terminal you configured.
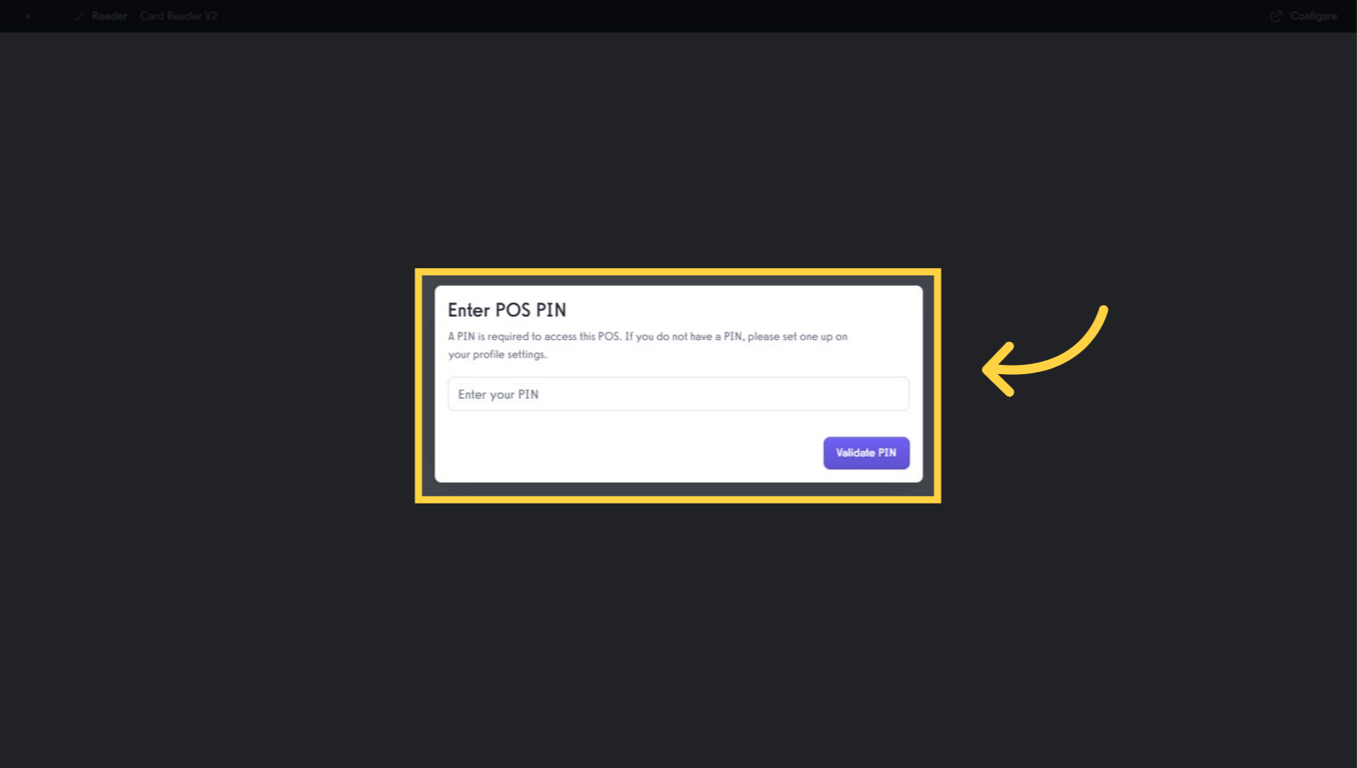
Enter your POS PIN to access the POS. If a PIN has not been set and you’re logged in, you’ll be prompted to create one. Note: For shared devices, set a PIN standard and store it securely.
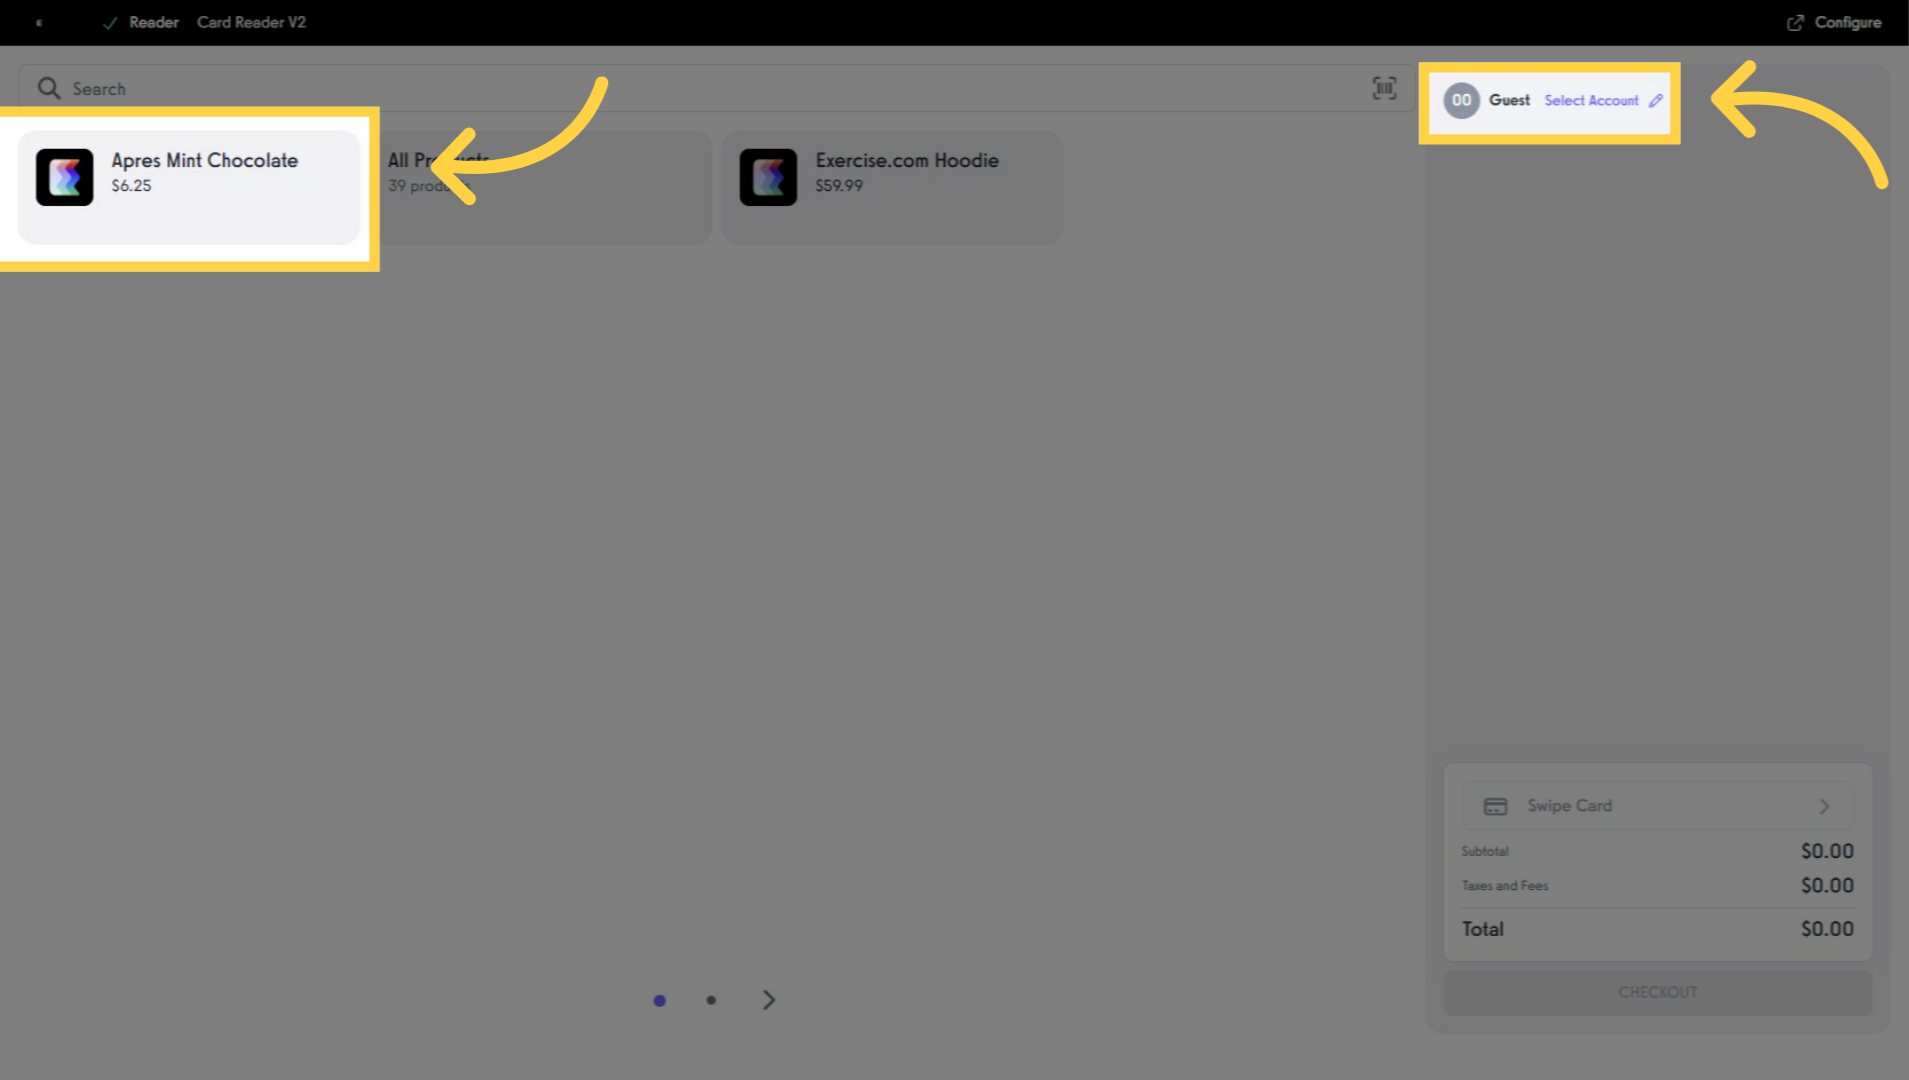
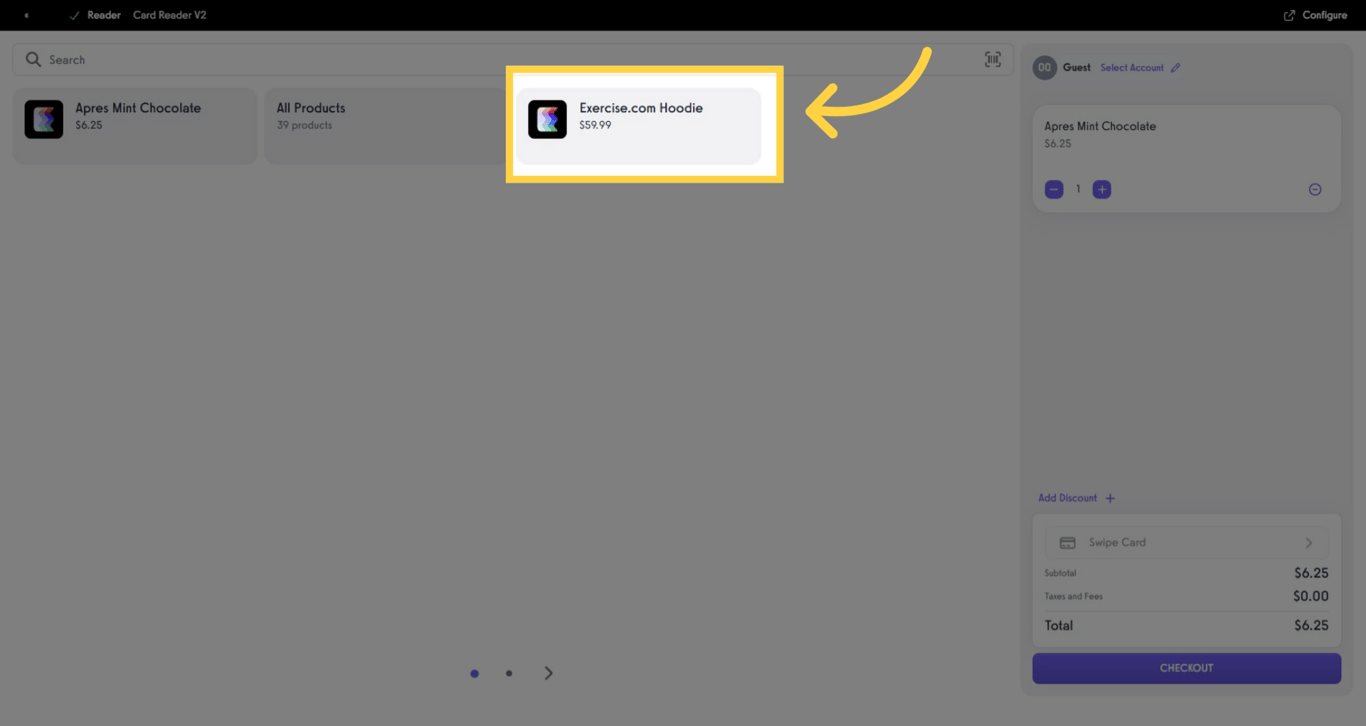
POS opens as Guest by default. Select a product variant from the tiles to add it to the cart.
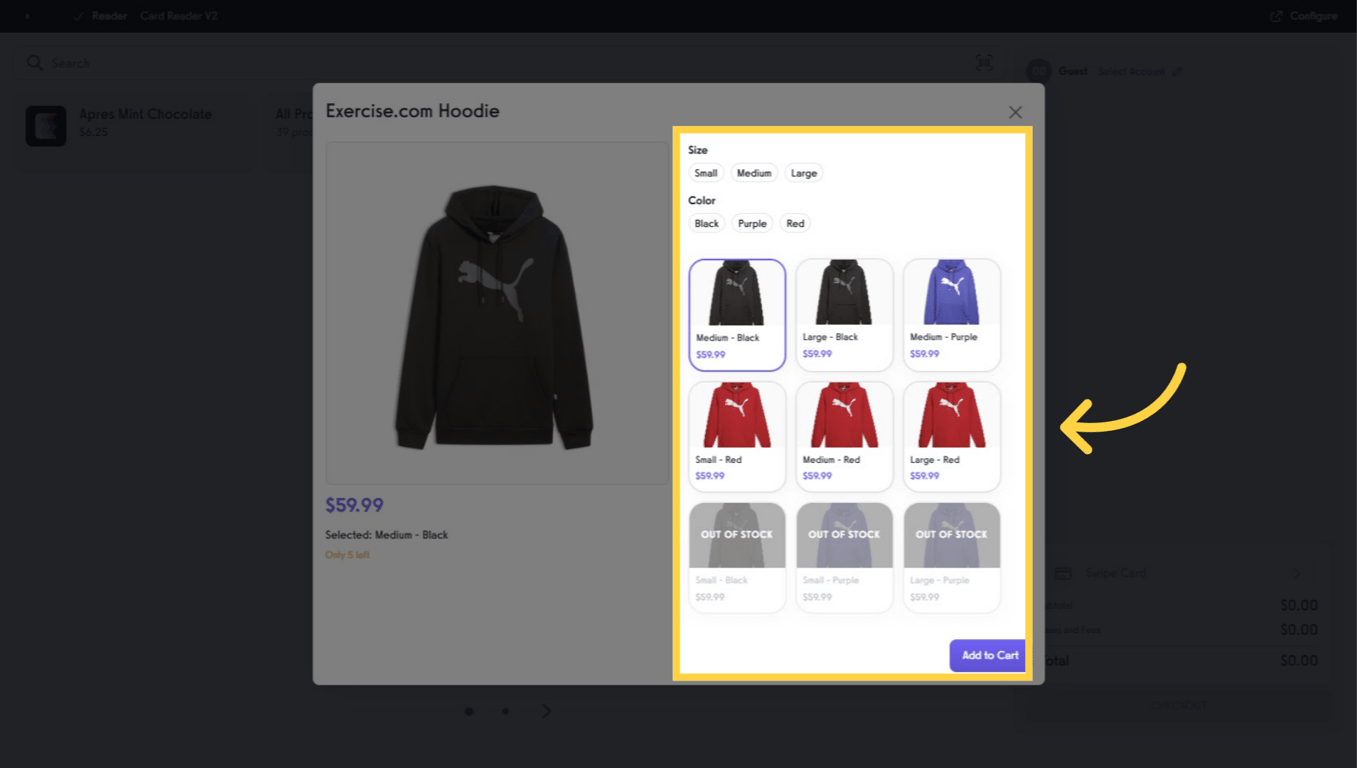
Click a product to view available variants before adding them to the cart.
Filter by size and color (if available), then click Add to Cart.
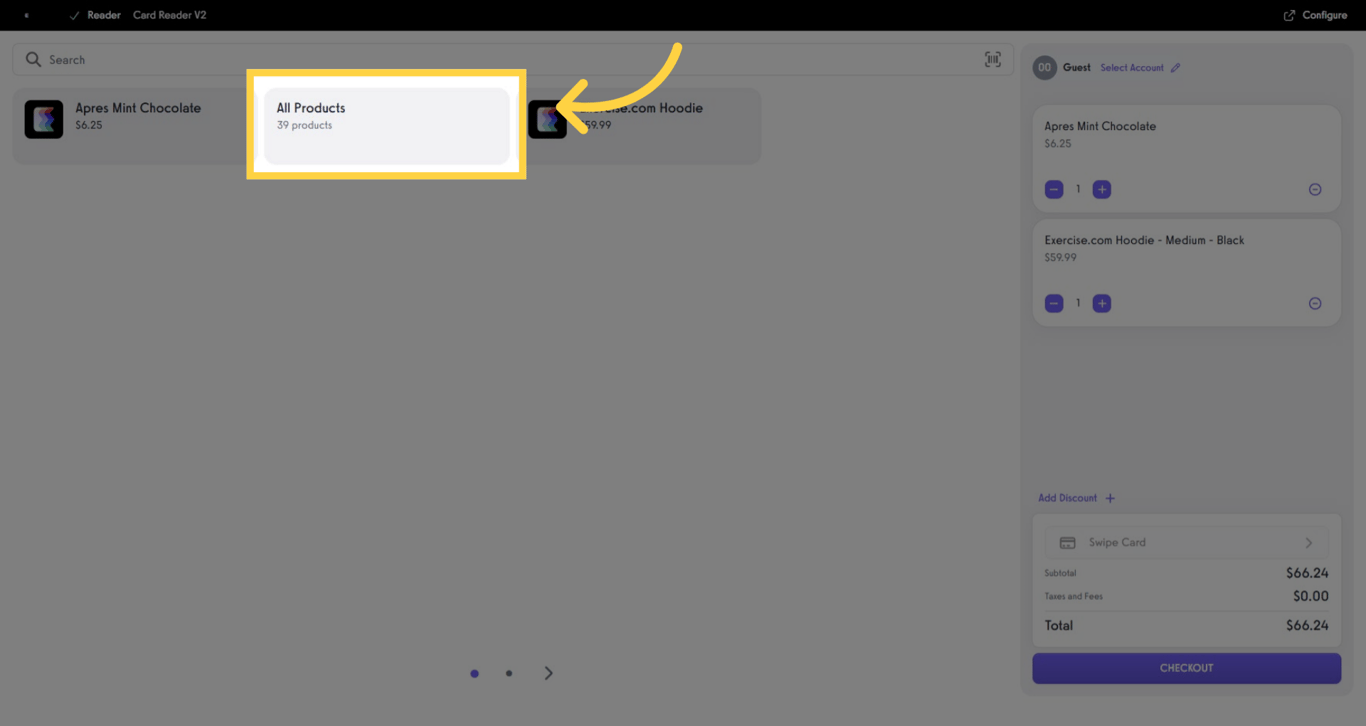
Click All Products to browse or search the full product list and add specific items or variants. Note: If you add Finders for Package, Plan, or Group, the same browse-and-search experience applies.
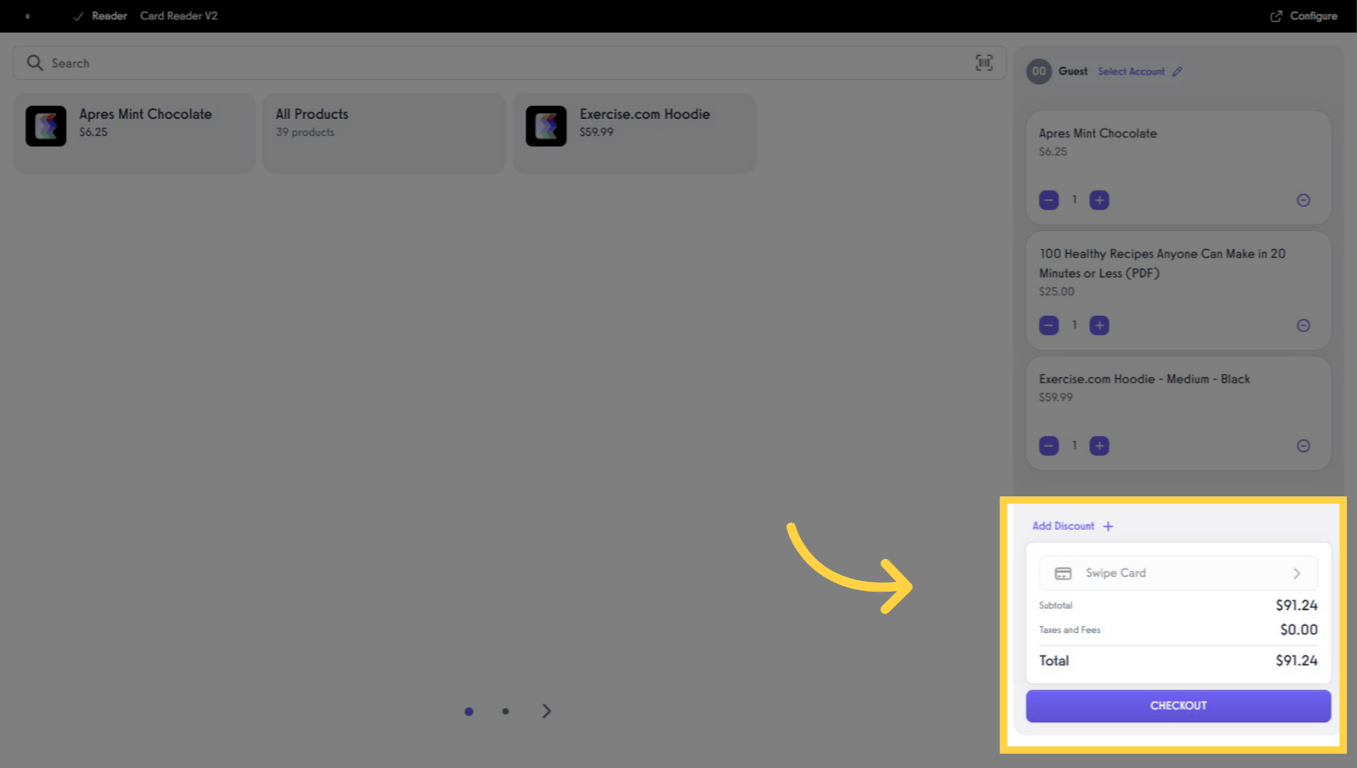
Review items in the right pane. Remove items or adjust quantities as needed. Note: Some products may have purchase limits based on stock availability.
When you’re ready, optionally add a discount coupon. Tap CHECKOUT to process payment with the connected terminal.
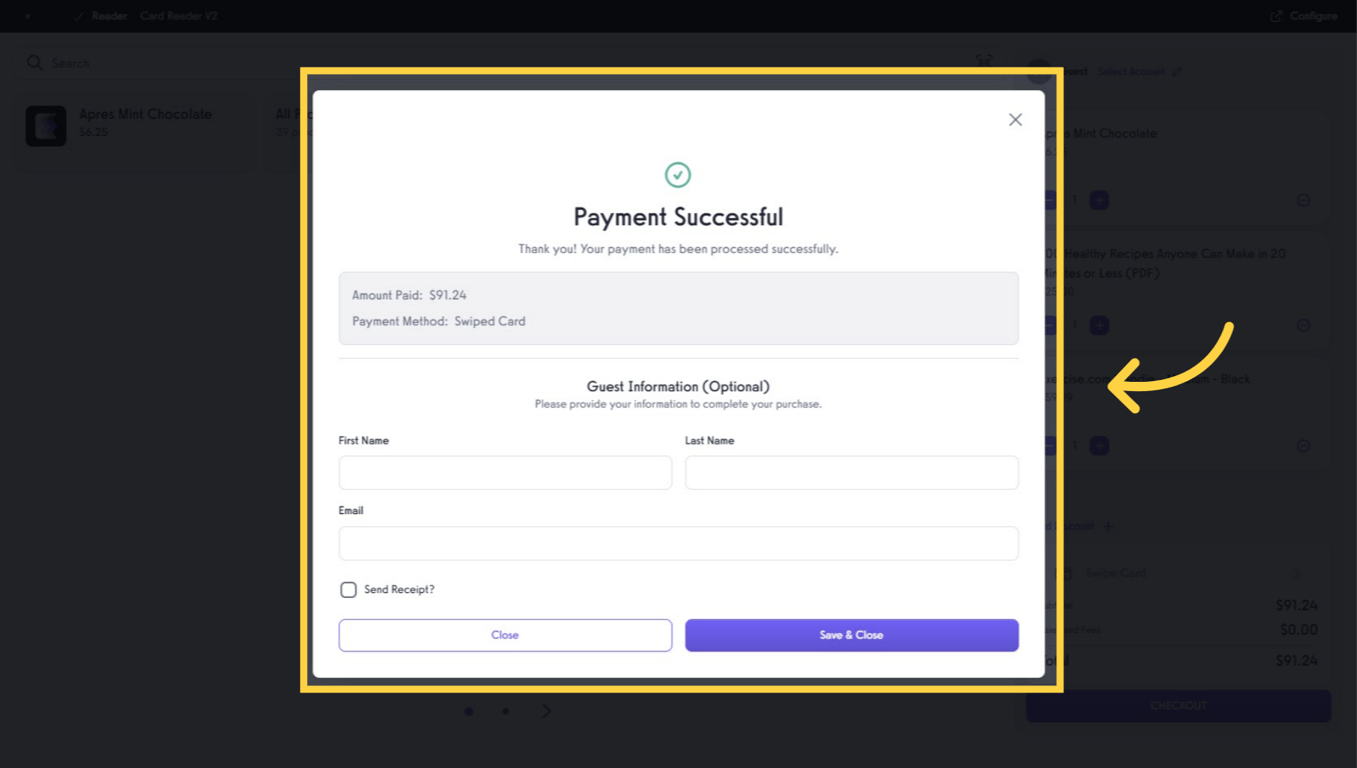
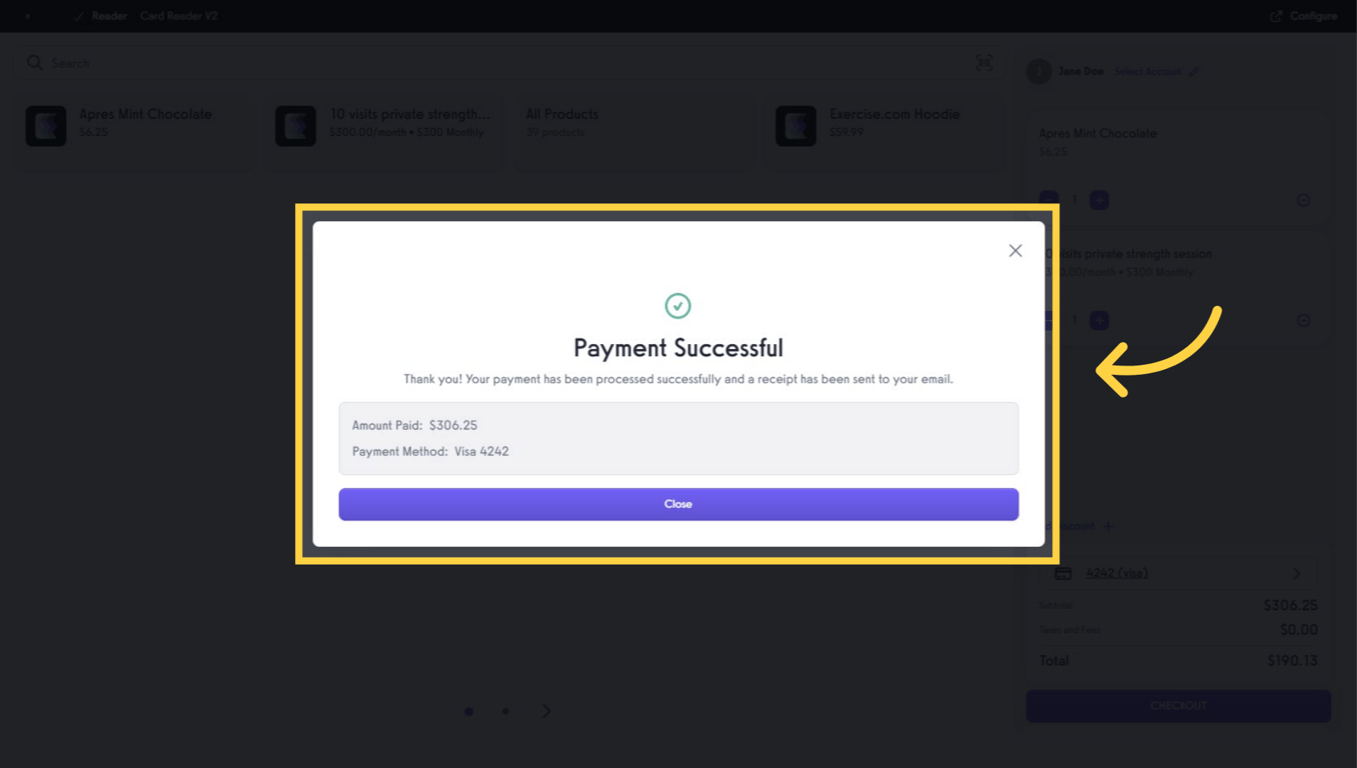
After payment, you’ll see a Payment Successful message with the total and method used.
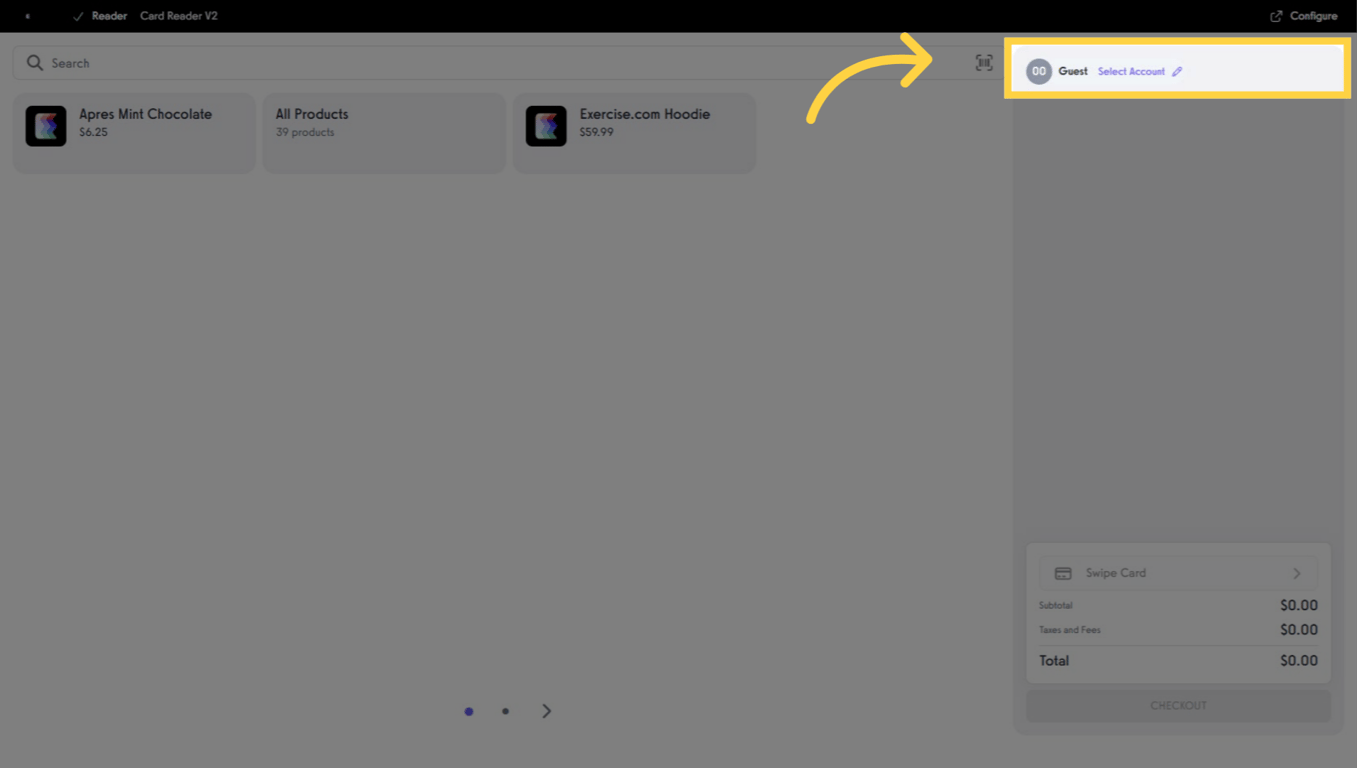
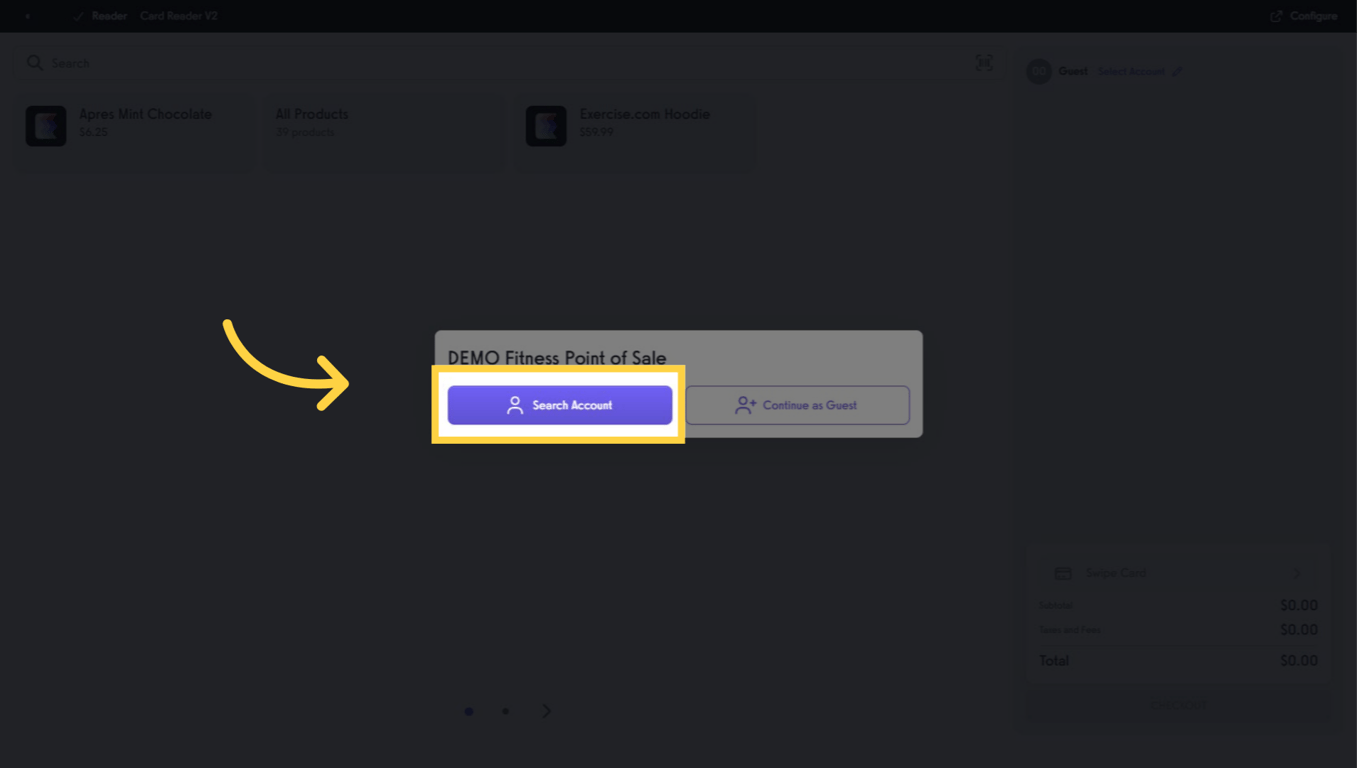
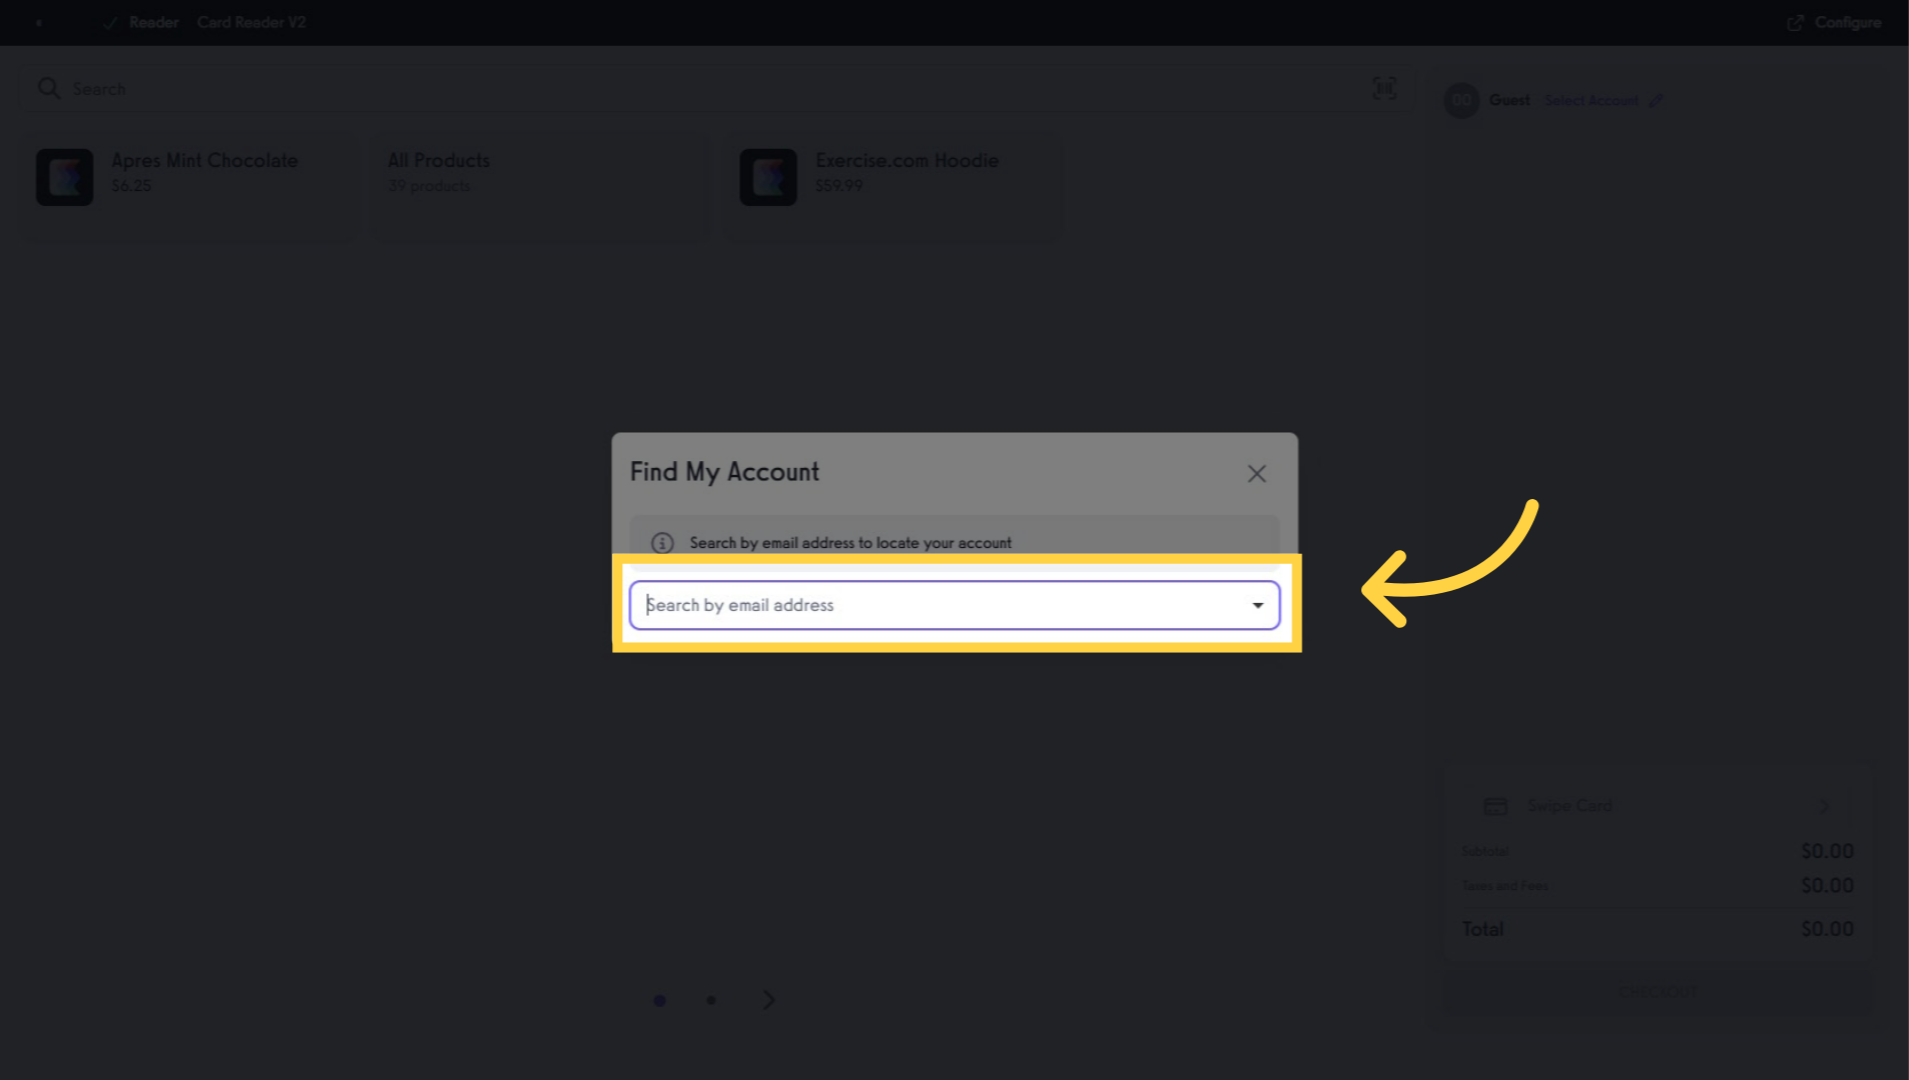
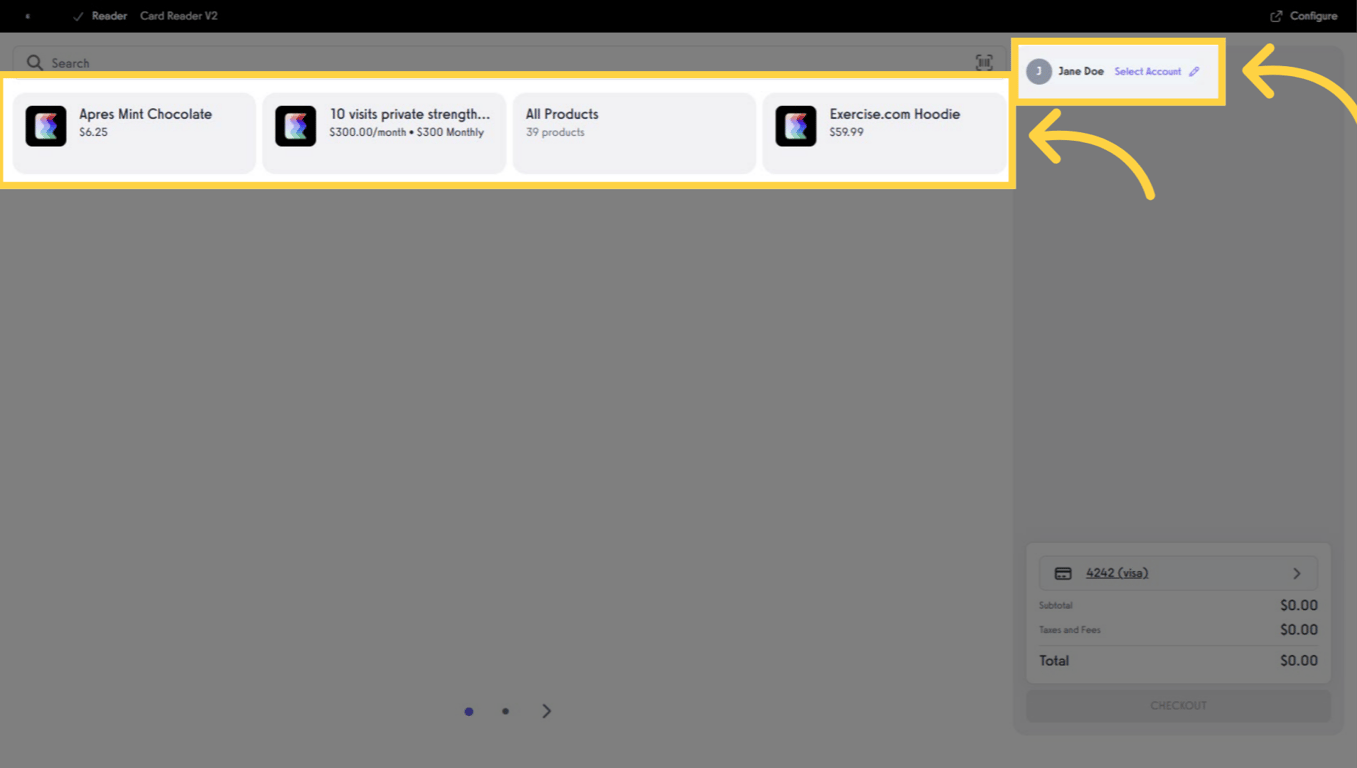
Click Select Account, then Search Account. Enter the client’s name or email. Select the correct account.
After selecting a client, you’ll see the client POS view. You’ll also see subscriptions and other client-only options that are not available for Guest checkout.
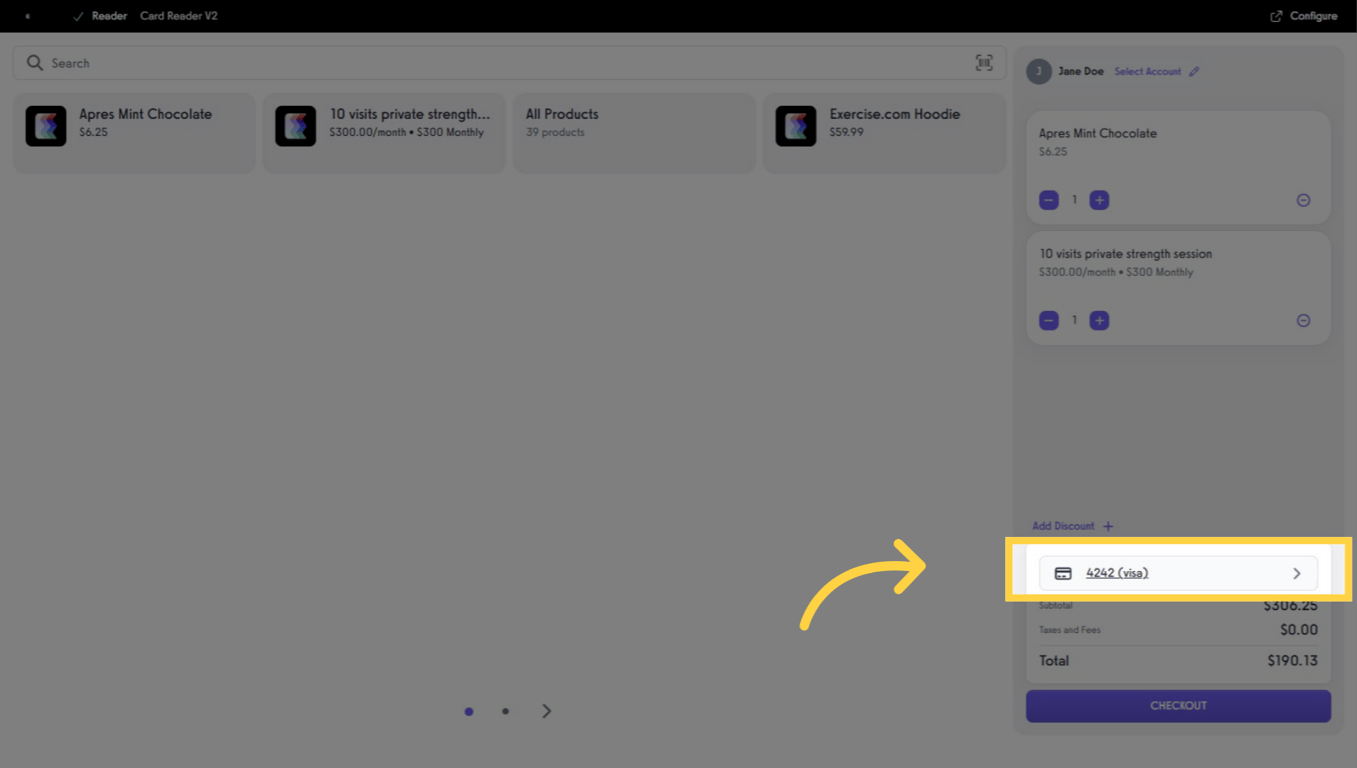
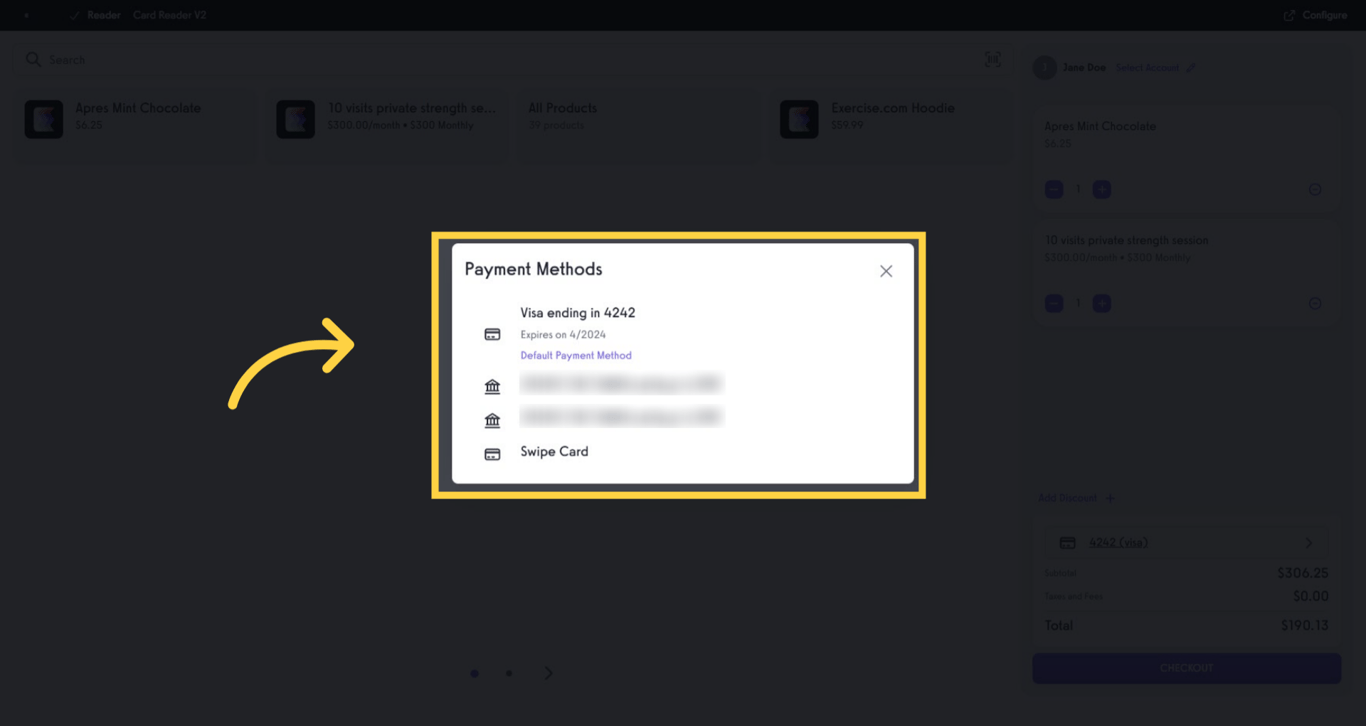
When items are finalized, click to choose a different payment method saved on the client’s account (or close the modal to cancel).
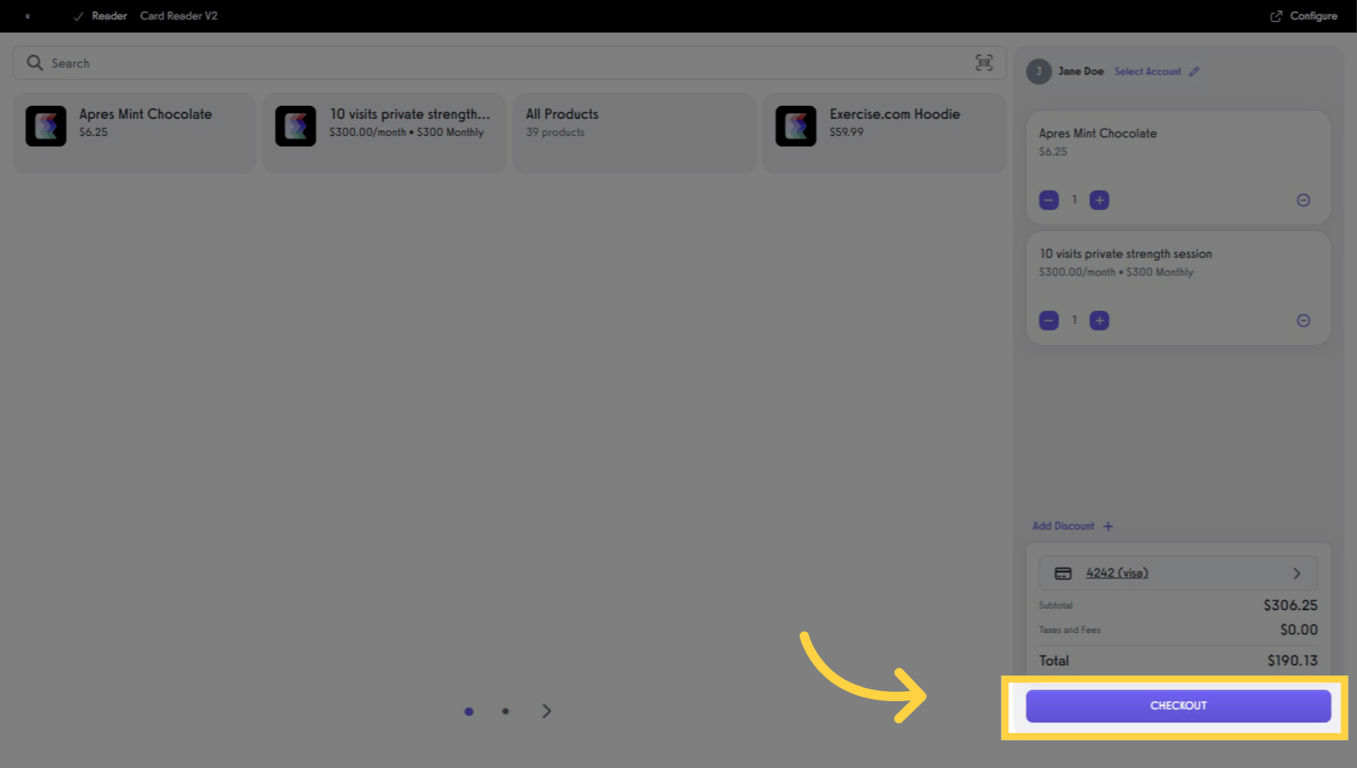
Click CHECKOUT to process payment. After payment, you’ll see a Payment Successful message—click Close to finish.
This overview walked you through creating a POS template, adding pages and items, assigning it to a location and terminal, and completing both guest and client checkouts.
With the Exercise.com POS and your payments setup via Payment Processing, your staff can move faster at the front desk, capture more in-person sales, and email receipts when needed.